15 Corner Shower Ideas for Small Bathrooms
I’ve planned corner showers into more small bathrooms than I can count, and they’re consistently one of the smartest layout choices available when square footage is tight — a corner shower uses the one part of a bathroom that’s hardest to use for anything else, freeing up the rest of the room for a vanity and clear floor space. Below are 15 corner shower ideas, each with the real dimensions, enclosure type, and material guidance that determines whether it feels genuinely spacious or just technically fits.
The Rules for Planning a Corner Shower
Minimum size: A functional corner shower needs at least 32×32 inches, though 36×36 inches is noticeably more comfortable for actual use — anything smaller starts to feel like standing in a phone booth rather than showering.
Door swing or sliding clearance: If using a hinged door, confirm it has clearance to open fully without hitting the toilet or vanity. In genuinely tight layouts, a sliding or pivot door avoids this problem entirely.
Corner angle: Standard corner showers use either a neo-angle (five-sided, cutting off the corner at 45 degrees) or a simple square/rectangular footprint against two walls — the neo-angle uses slightly less floor space intrusion into the room.
1. Neo-Angle Glass Enclosure
A five-sided neo-angle shower cuts the corner at a 45-degree angle, which softens the transition into the room and takes up less visual and physical space than a full square enclosure of the same shower capacity.
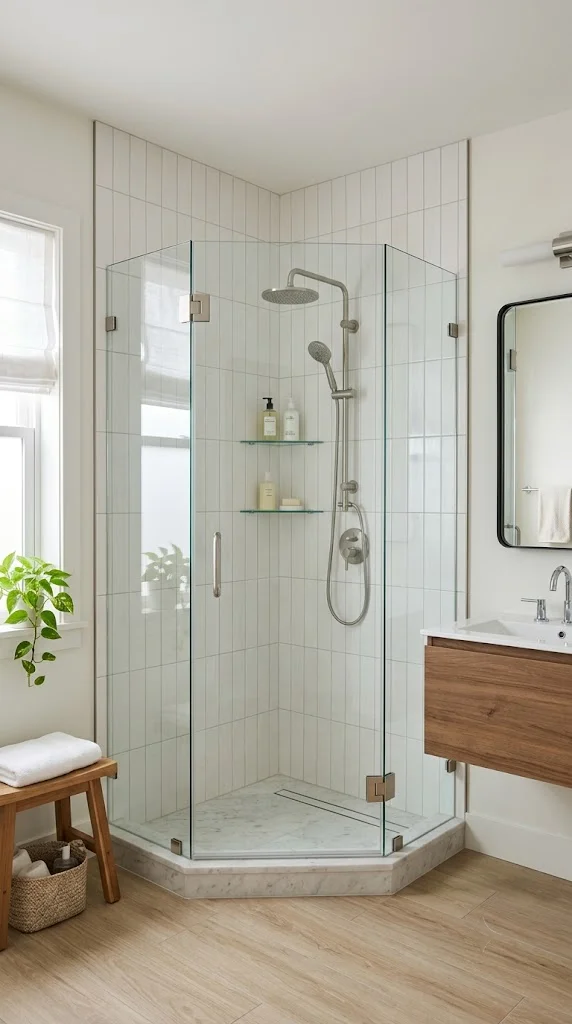
I’d choose a neo-angle specifically in bathrooms under 35 square feet, where every inch of clear floor space around the shower genuinely matters for movement.
Typical size: 36×36 inches at the widest points. Budget tier: mid-to-high ($800-2,500 including enclosure and installation.)
2. Frameless Glass Corner Shower
Frameless glass panels (no visible metal framing around the glass) keep sightlines open through the bathroom, making a corner shower feel like part of the room rather than a boxed-off section.
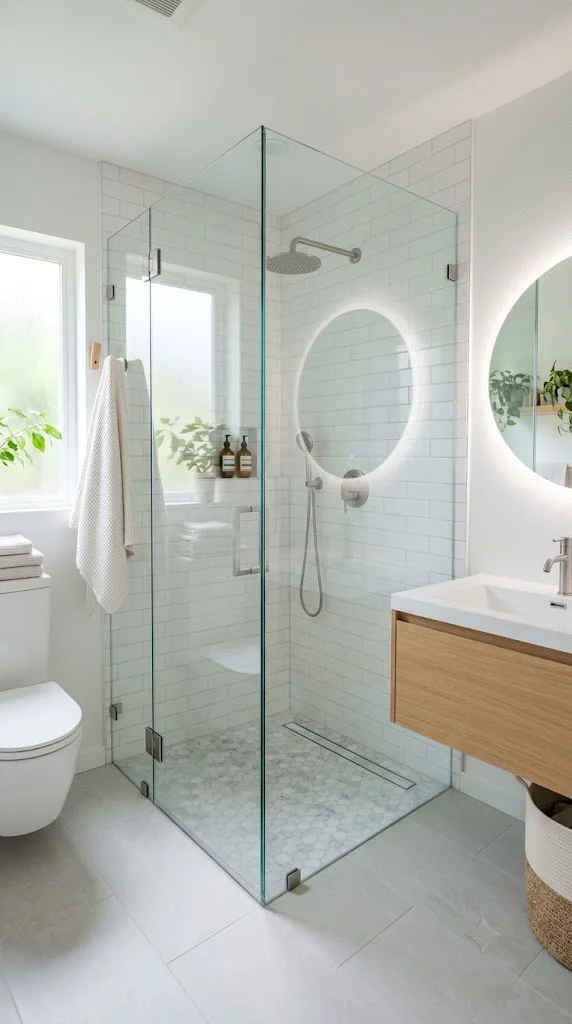
I’d budget for thicker glass (3/8 to 1/2 inch) with this style specifically, since frameless enclosures rely on the glass itself for structural rigidity without a metal frame providing support.
Budget tier: high ($1,200-3,000+, since frameless glass costs more than framed alternatives.)
3. Sliding Door Corner Shower
A sliding door track eliminates the swing clearance a hinged door requires, making this one of the most space-efficient enclosure options for a genuinely tight bathroom layout.
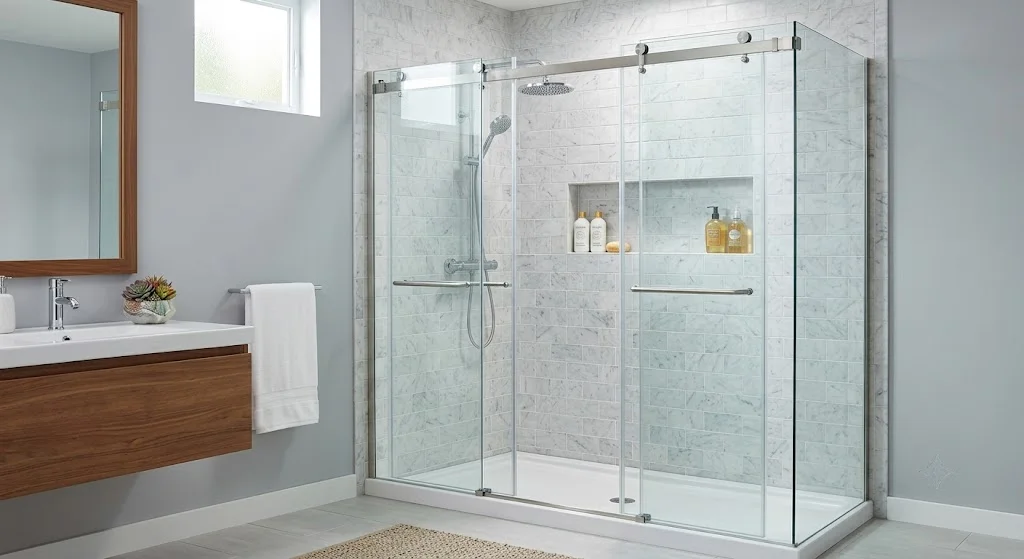
I’d confirm the track length fits your specific corner width before ordering, since sliding doors need enough adjacent wall or glass panel for the door to slide into when open.
Best for: bathrooms where a hinged door’s swing radius would hit the toilet or vanity. Budget tier: mid ($500-1,500.)
4. Curved Glass Corner Shower
A curved (rather than angled) glass front creates a softer visual transition and can make a corner shower feel less boxy, especially in bathrooms with an otherwise rounded or organic design direction.
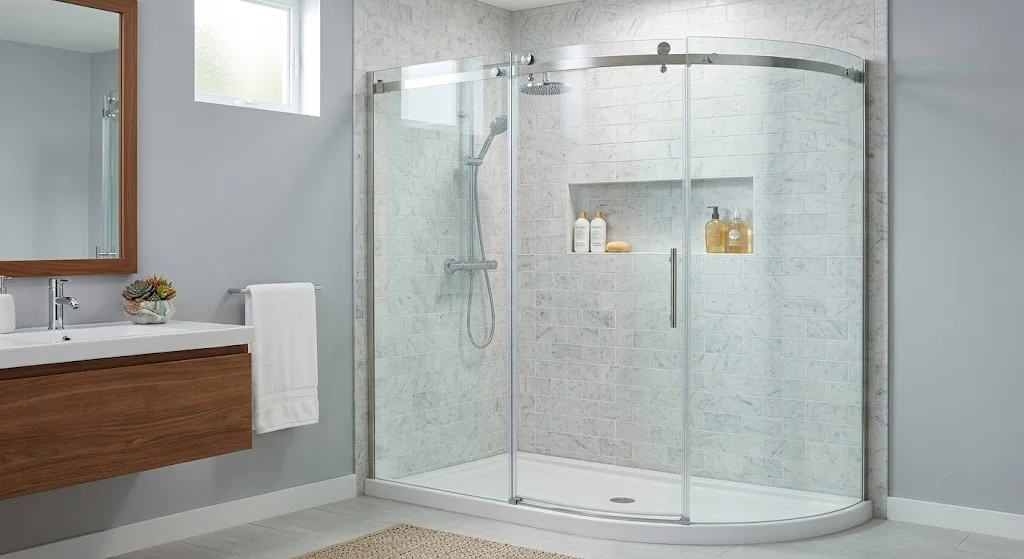
I’d expect a higher cost here specifically, since curved glass is manufactured differently than flat panels and typically costs more per square foot.
Budget tier: high ($1,500-3,500+.)
5. Corner Shower with Built-In Bench
Adding a built-in tiled bench or corner seat to a corner shower increases functionality significantly — for shaving, resting, or simply making the shower feel less purely utilitarian — without needing extra floor space outside the shower footprint.
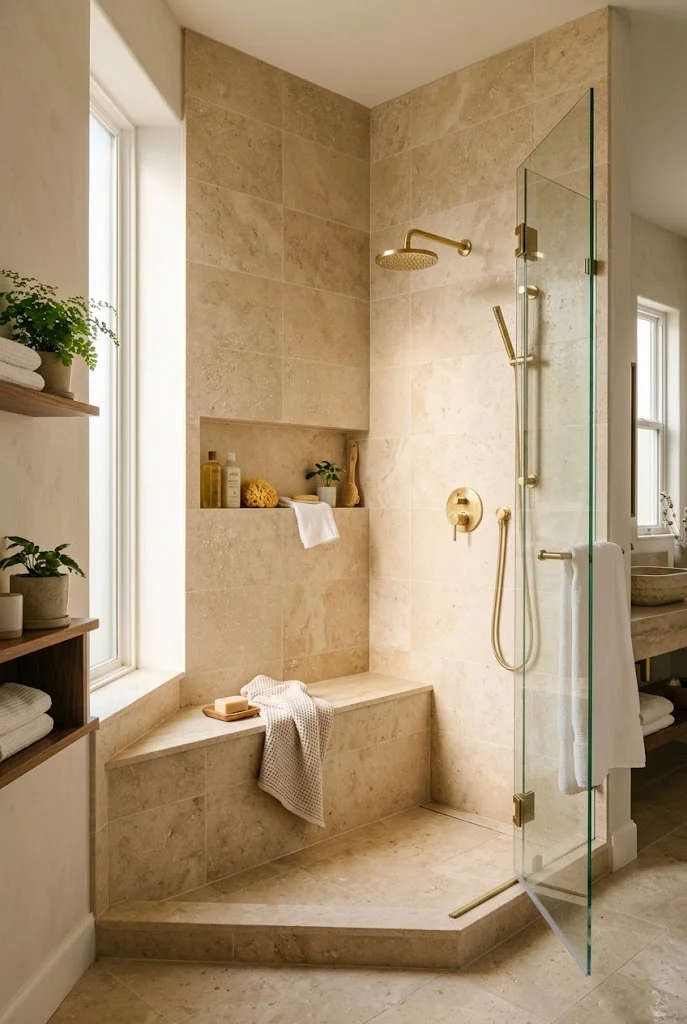
I’d size the bench at standard seat height (17-19 inches) and keep it to roughly 12×12 inches minimum for genuine usability, positioned in the shower’s least-used corner so it doesn’t interfere with the main showering area.
Budget tier: mid-to-high, adds $200-600 to a standard shower installation.
6. Corner Shower with Recessed Niche Storage
A built-in recessed niche in the shower wall holds shampoo and soap without needing a corner caddy or shelf that eats into the already-limited shower footprint.
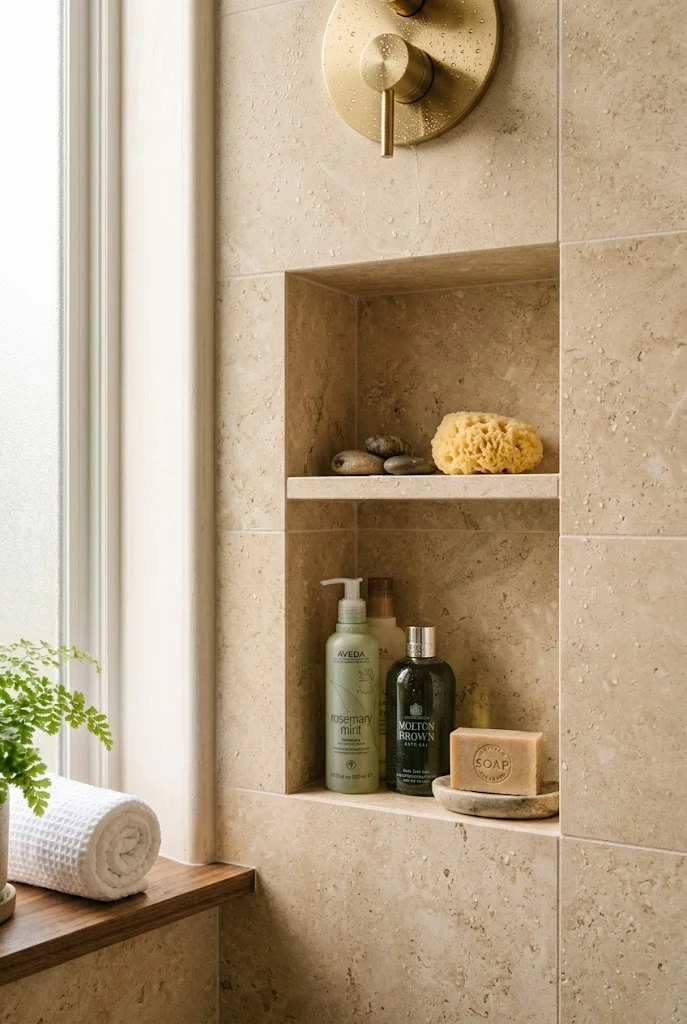
I’d plan niche placement during the shower’s initial construction or renovation rather than retrofitting later, since cutting into an existing tiled wall for a niche is considerably more disruptive than building it in from the start.
Budget tier: low add-on cost during construction ($150-400), higher if retrofitted into existing tile.
7. Large-Format Tile Corner Shower
Using large-format tile (12×24 inches or bigger) rather than small mosaic tile reduces grout lines significantly, which makes a corner shower read as more expansive and easier to clean.
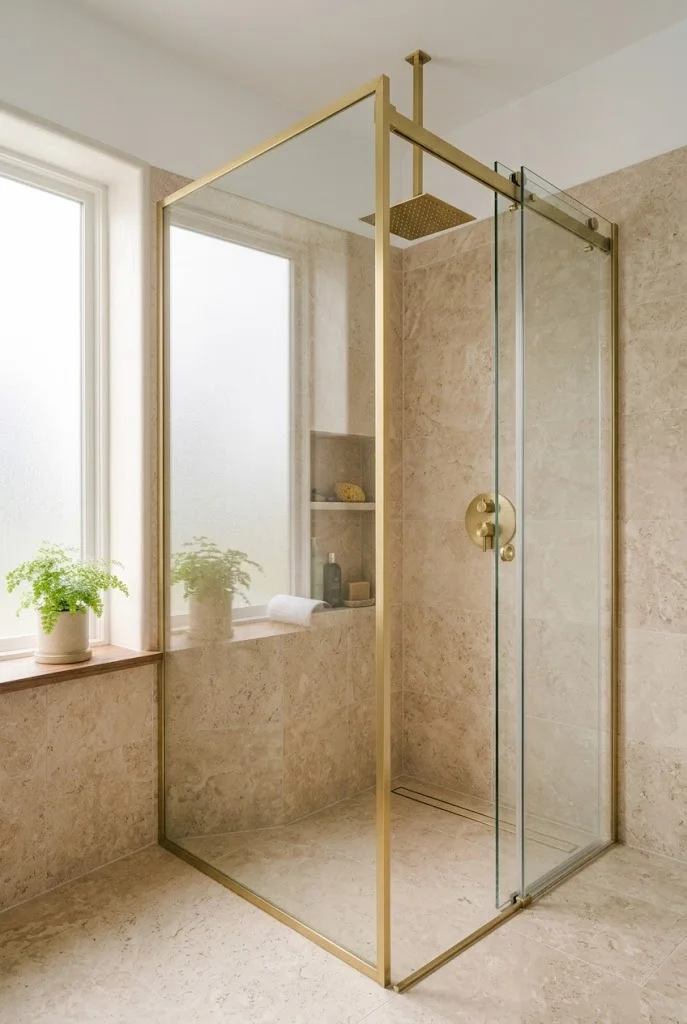
I’d choose a tile with a slightly textured or matte finish for the shower floor specifically, even while using large-format on the walls, since slip resistance matters more on the floor than the walls.
Budget tier: mid ($8-15 per square foot for tile, plus installation.)
8. Corner Shower with a Rain Showerhead
Mounting a rain showerhead directly overhead (rather than a standard angled wall-mount) in a corner shower creates a more immersive, spa-like experience and visually simplifies the fixture layout in a small space.
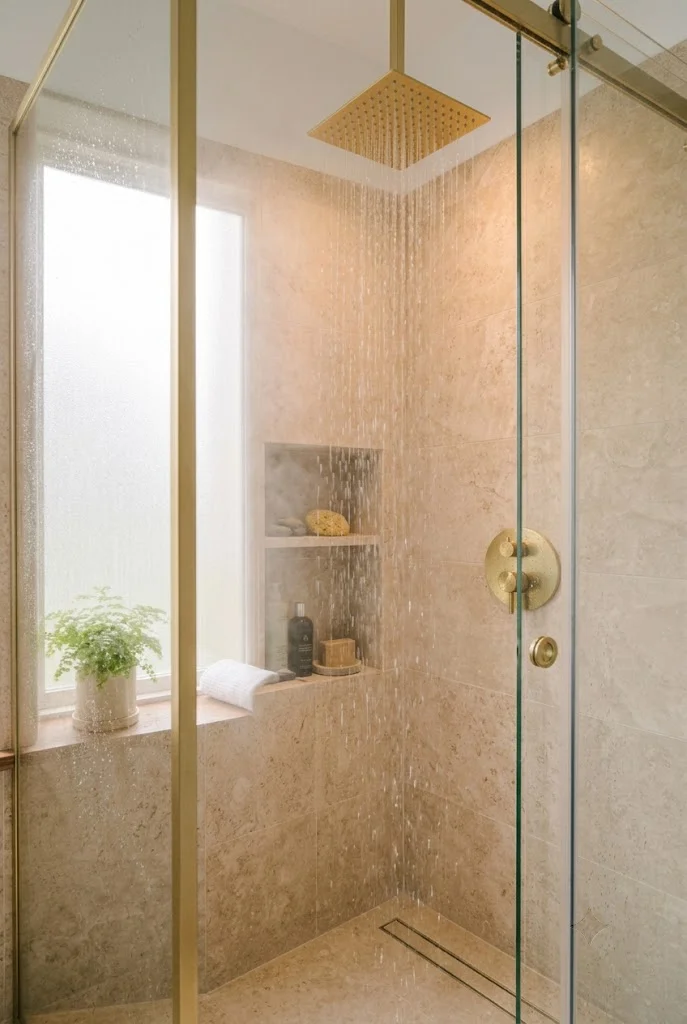
I’d confirm ceiling height and plumbing access before committing to this option, since a ceiling-mounted rain showerhead requires different rough-in plumbing than a standard wall-mounted fixture.
Budget tier: mid ($150-500 for the fixture, more if plumbing needs to be relocated.)
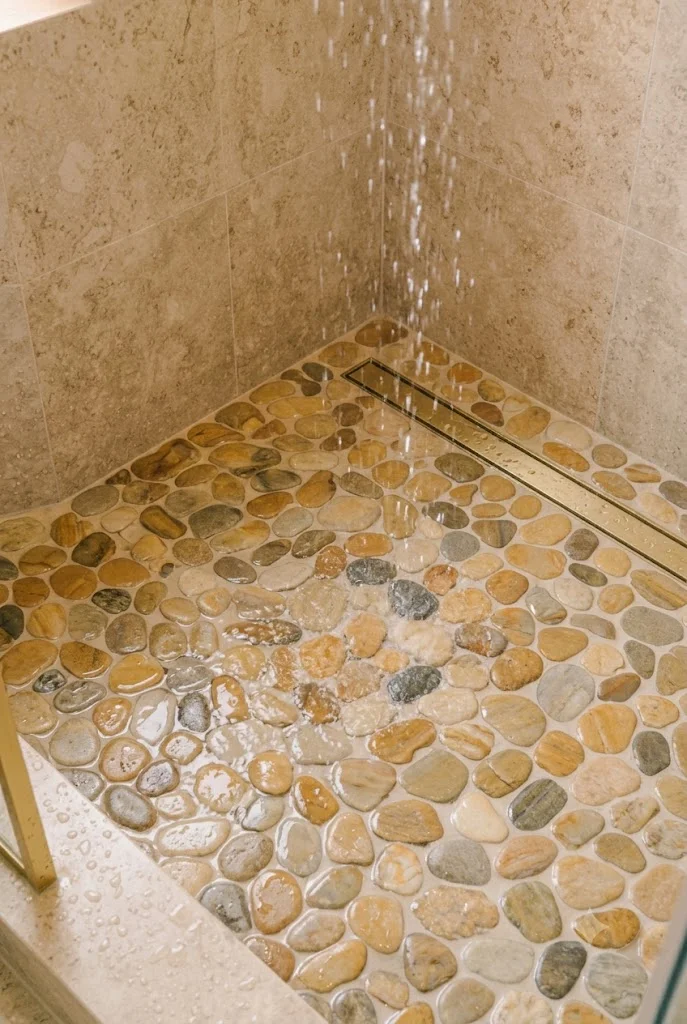
9. Corner Shower with Pebble Tile Flooring
Pebble tile on the shower floor adds natural texture and genuinely improves slip resistance compared to smooth tile, while also creating a spa-like visual detail that stands out against simpler wall tile.
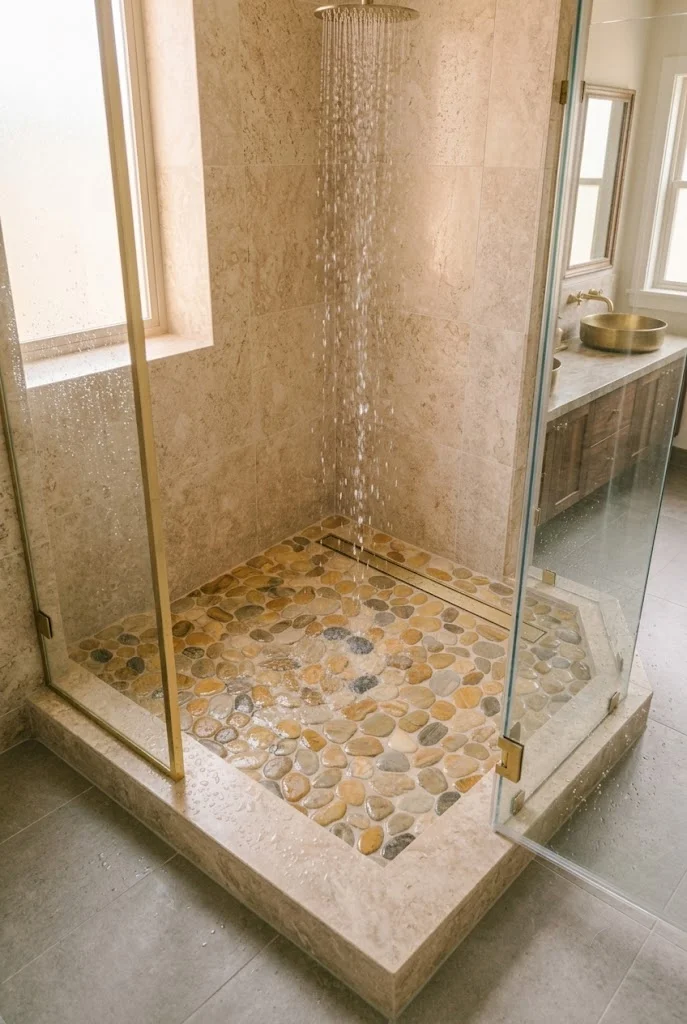
I’d expect a slightly different maintenance routine here specifically — pebble tile has more grout surface area relative to its size, so it needs more frequent sealing than large-format flat tile.
Budget tier: mid ($10-20 per square foot, typically used only on the shower floor rather than walls.)
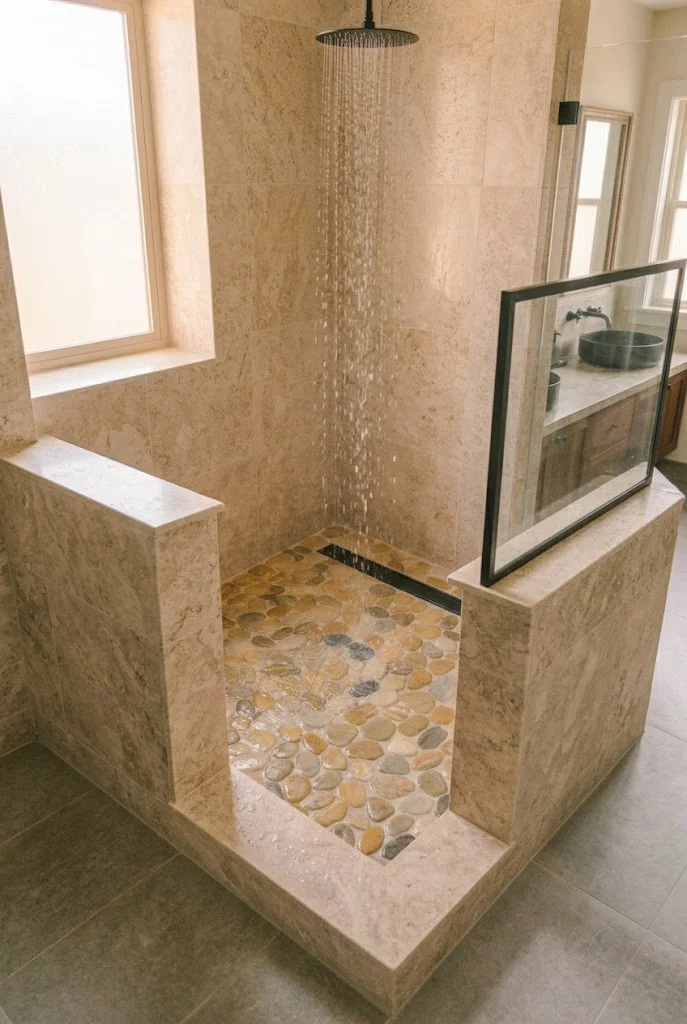
10. Corner Shower with a Half-Wall Instead of Full Glass
Replacing a full glass enclosure with a partial half-wall (roughly 36-42 inches tall, open above) reduces both cost and the visual bulk of a full glass enclosure, while still containing water effectively for most shower use.
I’d pair this specifically with a good drainage slope and possibly a small lip at the wall’s base, since a half-wall alone (without careful floor grading) can allow more water to escape the shower area than a full enclosure.
Budget tier: low-to-mid ($300-900, less than a full glass enclosure.)
11. Corner Shower with Black Frame Accents
A black-framed glass enclosure (rather than frameless or standard chrome/silver framing) adds a modern, defined visual boundary that can make a small corner shower feel more like an intentional design feature than a purely functional necessity.
I’d match the frame’s black finish to other black fixtures in the bathroom (faucet, hardware) for a cohesive look, rather than introducing black only through the shower frame.
Budget tier: mid ($600-1,800, similar to standard framed enclosures with a finish upgrade.)
12. Corner Shower with Vertical Subway Tile
Laying subway tile vertically (rather than the traditional horizontal brick pattern) on a corner shower’s walls draws the eye upward, creating the illusion of a taller ceiling and a more spacious feel overall.
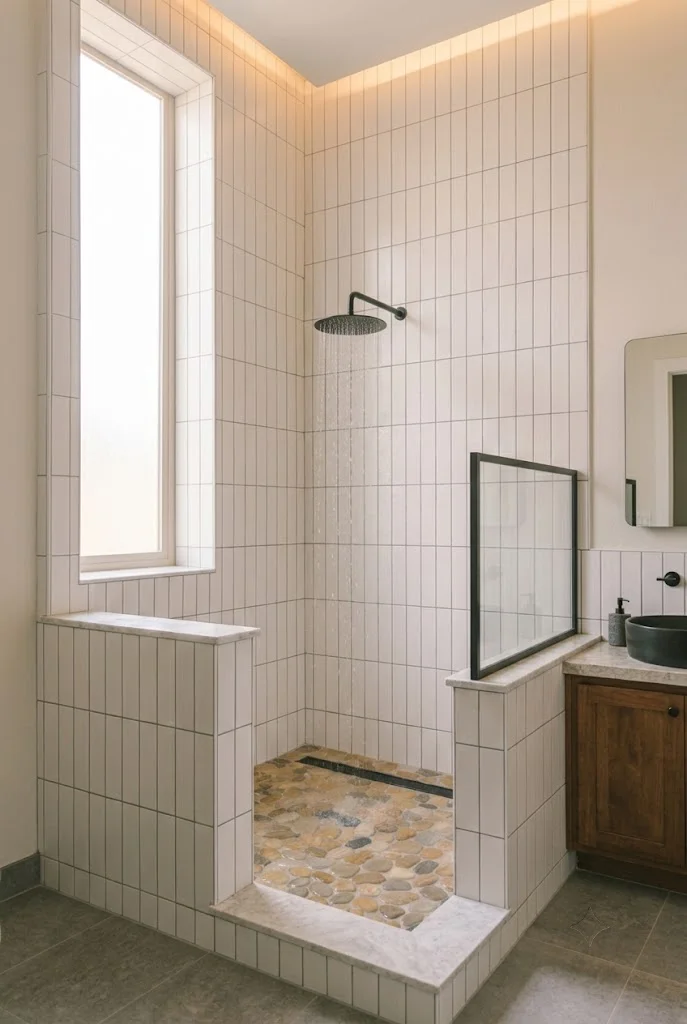
I’d keep grout color close to the tile color for this application specifically, since high-contrast grout with vertical tile can visually emphasize the tile’s height in a way that feels busier rather than taller.
Budget tier: low-to-mid ($5-10 per square foot for standard subway tile, plus installation.)
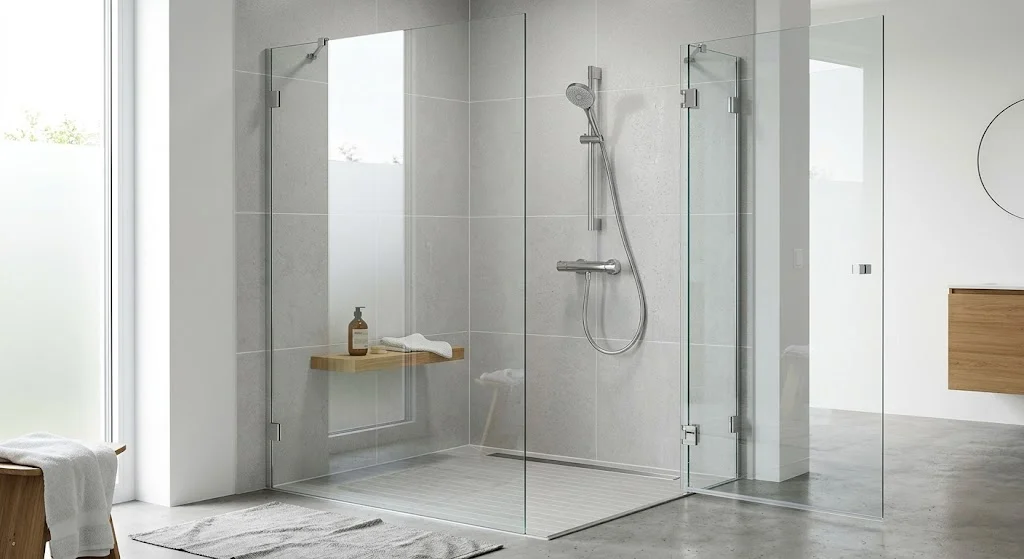
13. Wet Room-Style Open Corner Shower
Rather than a fully enclosed shower, a wet room approach uses a single glass panel or none at all, with the entire bathroom floor sloped toward a drain, creating a fully open, barrier-free corner shower area.
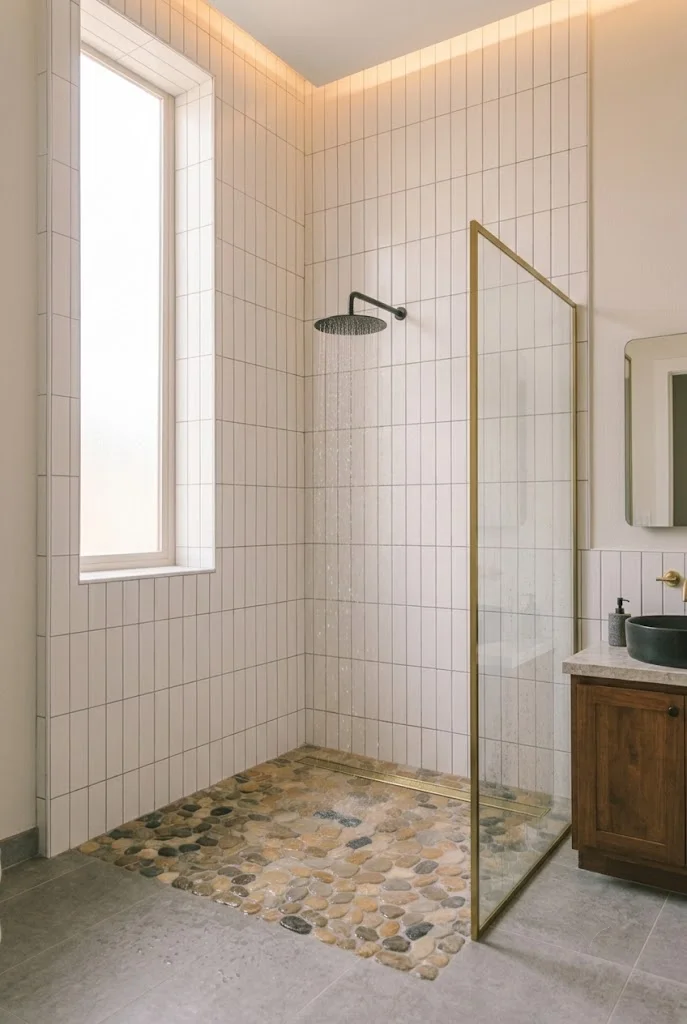
I’d only recommend this in bathrooms with adequate square footage and a floor plan that can accommodate proper waterproofing across the whole room, since a wet room requires full-room waterproofing membrane, not just the shower area itself.
Budget tier: high ($2,000-5,000+, given the full-room waterproofing and slope work required.)
14. Corner Shower with a Skylight or High Window
If your bathroom’s layout allows, positioning the corner shower beneath a skylight or a high, privacy-glass window brings in natural light directly where it’s needed most, without sacrificing privacy.
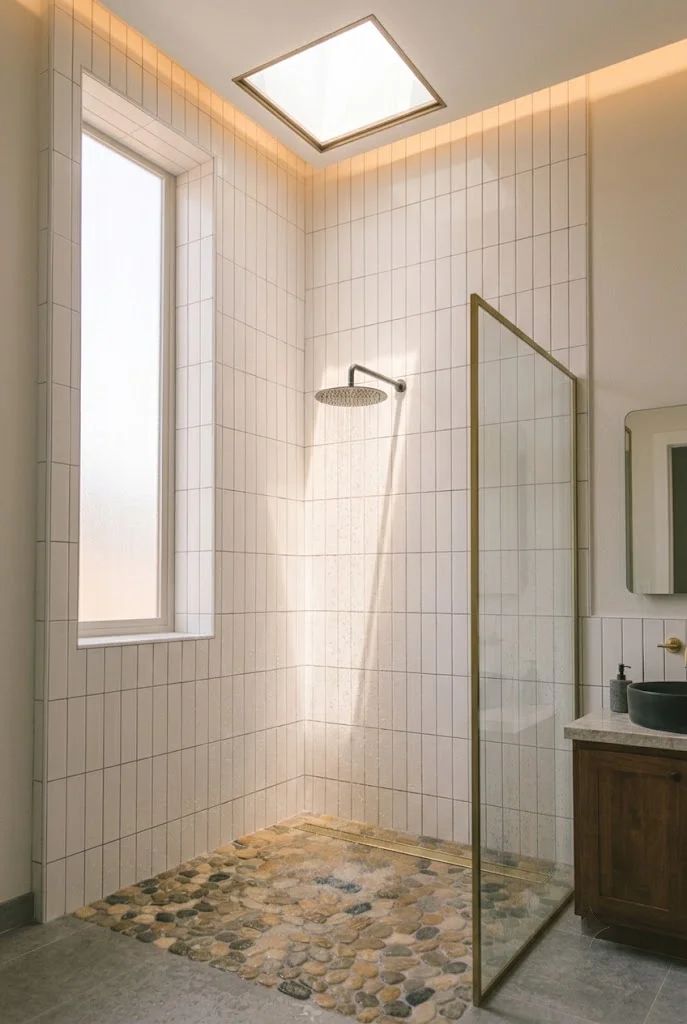
I’d confirm the window or skylight uses tempered or properly rated glass for wet-area and safety code compliance, since standard glass isn’t suited to direct shower exposure.
Budget tier: high if adding new construction ($800-2,500+), lower if an existing window is already positioned well.
15. Minimalist Corner Shower with Handheld Fixture
Pairing a corner shower with a slide-bar handheld showerhead (rather than a fixed showerhead only) adds genuine flexibility for cleaning the shower, bathing pets, or accommodating different heights in the household, all within the same compact footprint.
I’d position the slide bar to reach from roughly 48 to 78 inches in height, giving enough range for both seated and standing use if accessibility is a consideration for anyone in the household.
Budget tier: low ($80-250 for the fixture and slide bar.)
My Professional Guide to Planning a Corner Shower for a Small Bathroom
I always start with the bathroom’s actual corner dimensions and the door swing of the room’s entry door before choosing a shower enclosure style, since a beautiful frameless glass design means little if it doesn’t actually clear the bathroom’s real layout once installed.
From there, I think about water containment realistically based on daily use — a household with kids or a shower used primarily by one adult has different needs than one accommodating multiple users, and that should influence whether a full enclosure, half-wall, or wet-room approach makes the most sense.
Finally, I’d prioritize slip resistance on the shower floor specifically, regardless of which wall tile or enclosure style is chosen. This is the one safety detail that matters across every version of a corner shower, and it’s worth spending slightly more to get right.
Conclusion
A corner shower remains one of the most space-efficient layout choices for a small bathroom, using a corner that’s otherwise hard to furnish while freeing the rest of the room for a vanity and clear floor space. Choose an enclosure style based on your actual door clearance and budget, prioritize slip-resistant flooring, and even a genuinely compact bathroom can support a shower that feels considered rather than cramped.
Frequently Asked Questions
What is the minimum size for a corner shower?
32×32 inches is the functional minimum, though 36×36 inches is noticeably more comfortable for regular use without feeling cramped.
What’s the difference between a neo-angle and a standard corner shower?
A neo-angle shower cuts the corner at a 45-degree angle with a five-sided enclosure, taking up slightly less visual and physical space than a full square enclosure against two straight walls.
Are sliding doors better than hinged doors for a small bathroom shower?
Often, yes — sliding doors eliminate the swing clearance a hinged door requires, which matters in bathrooms where a hinged door’s swing radius would otherwise hit the toilet or vanity.
How much does it cost to install a corner shower?
This varies widely by enclosure type and material, but a reasonable range is $500-1,500 for a standard framed or sliding enclosure, and $1,200-3,000+ for frameless or curved glass options.