12 Simple Kitchen Design Ideas for a Calm, Clean Space
Simple kitchen design relies on a limited color palette, uncluttered countertops, and a few intentional material choices rather than heavy ornamentation. The highest-impact, lowest-cost changes are switching to a neutral color scheme, decluttering visible surfaces, and adding one natural material like wood or stone. These three moves make a kitchen feel calmer and more finished without a full renovation.
I’ve styled and re-styled a lot of kitchens, and the ones that feel the most put-together are almost never the most expensive. They’re the ones where every surface earns its place. Below are 12 simple kitchen design ideas, each with the materials, the steps, a styling tip, and a ready-to-use image prompt so you can visualize the change before committing to it.
At-a-Glance Comparison Table
| Idea | Best For | Difficulty | Approx. Budget |
|---|---|---|---|
| Minimalist White Cabinetry | Any kitchen size | Medium | $$$ |
| Open Shelving | Small to mid-size kitchens | Easy | $ |
| Single-Wall Galley Layout | Narrow/compact kitchens | Advanced | $$$ |
| Neutral, Limited Color Palette | Any kitchen | Easy | $ |
| Natural Wood Accents | Any kitchen | Easy | $$ |
| Hidden/Concealed Storage | Any kitchen | Medium | $$ |
| One Statement Light Fixture | Any kitchen | Easy | $$ |
| Simple Subway or Slab Backsplash | Any kitchen | Medium | $$ |
| Functional Island With Storage | Mid-size to large kitchens | Advanced | $$$ |
| Matching Minimal Hardware | Any kitchen, quick upgrade | Easy | $ |
| Greenery & Natural Touches | Any kitchen | Easy | $ |
| Decluttered Countertop Zones | Any kitchen | Easy | $ |
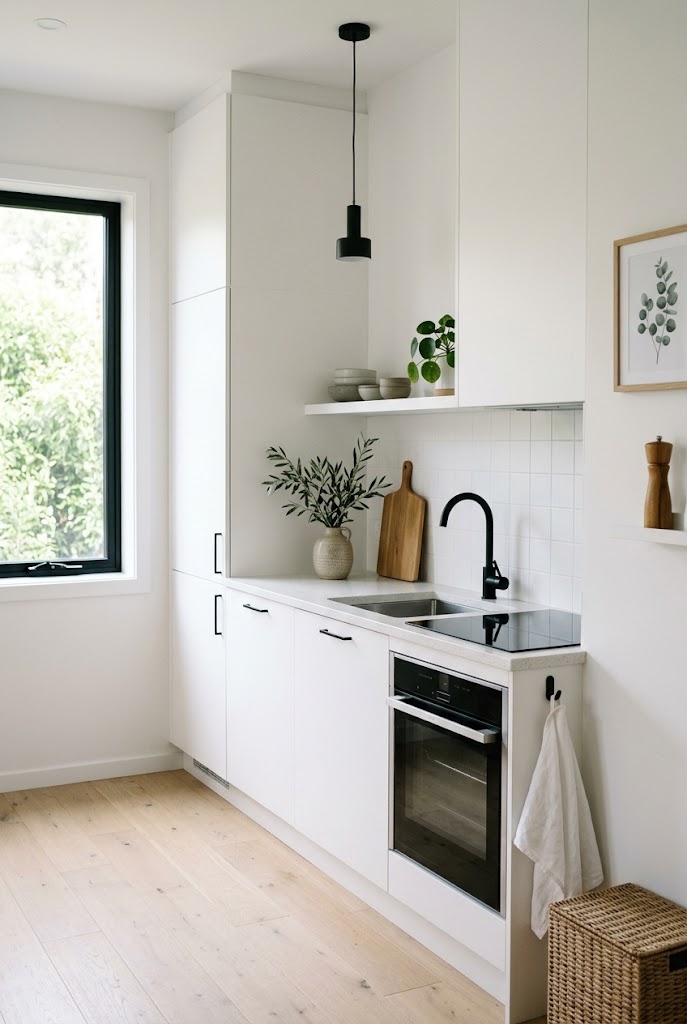
1. Minimalist White Cabinetry
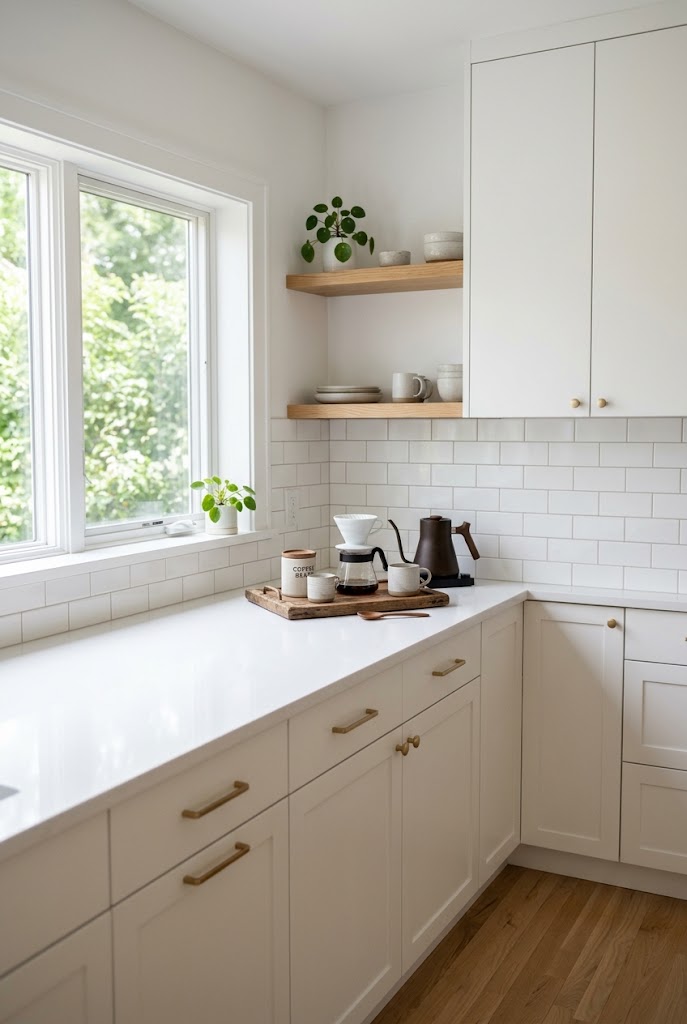
White or off-white flat-panel cabinetry is the fastest way to make a kitchen feel simple and bright, because it reflects light and removes visual noise from the largest surfaces in the room. I always pair it with simple, unobtrusive hardware so the cabinetry stays the focal point instead of competing with itself.
What You’ll Need: flat-panel or shaker cabinet fronts, matte or satin white paint (or pre-finished panels), minimal pull or knob hardware, painter’s tape and primer if repainting.
Quick How-To: Remove existing cabinet doors and hardware. Sand and prime surfaces if repainting, then apply two thin coats of paint in a matte or satin finish. Reinstall with simplified, matching hardware.
Styling Tip: Stick to one hardware finish throughout — mixing brass, black, and chrome undoes the calm effect instantly.
2. Open Shelving
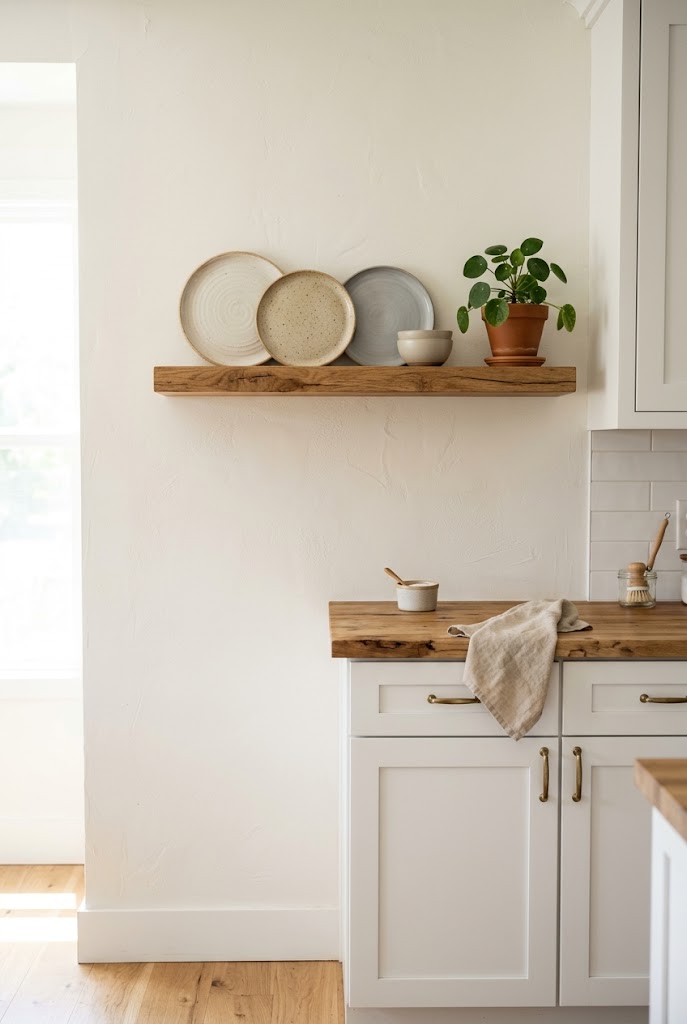
Open shelving works best in a simple kitchen when it’s used sparingly — one or two shelves, not a full wall. It gives you a place to display a few well-chosen items (plates, glassware, a plant) while keeping the rest of the storage concealed behind cabinet doors.
What You’ll Need: floating shelf brackets, wood or painted shelf boards, a level, wall anchors.
Quick How-To: Choose one wall section, mark and level your bracket positions, and install according to the shelf weight rating. Style with a small, curated set of items rather than filling every inch.
Styling Tip: Leave visible empty space on each shelf — a fully packed open shelf reads as clutter, not display.
3. Single-Wall Galley Layout
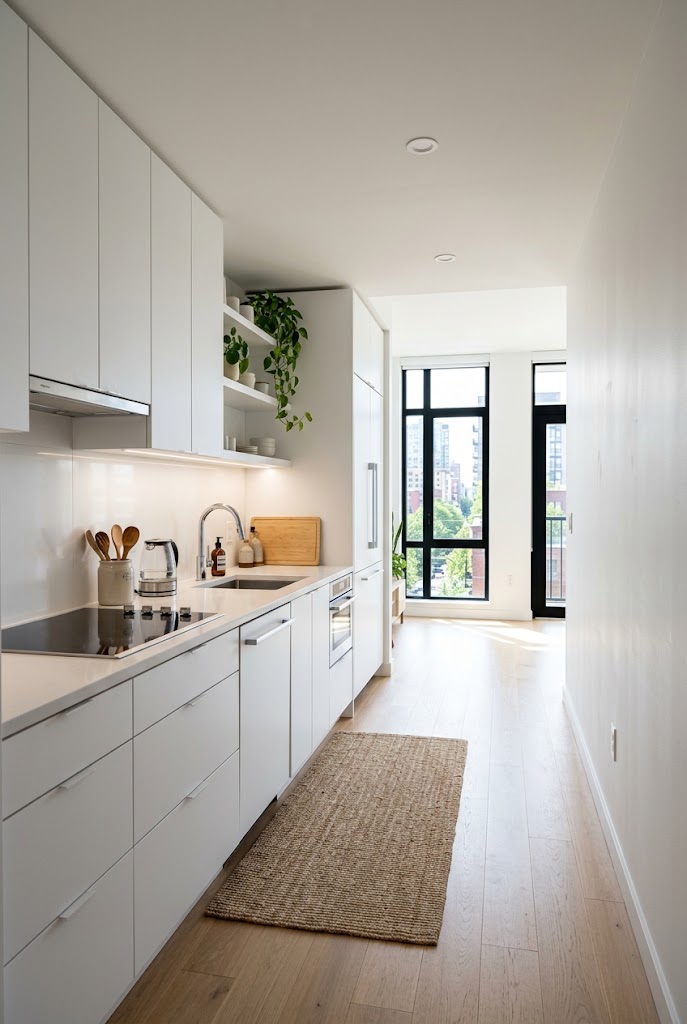
For compact kitchens, consolidating everything onto one wall — cabinets, appliances, and counter space in a single continuous run — removes the visual clutter of a broken-up layout and keeps the opposite wall completely open for movement or a small dining area.
What You’ll Need: continuous countertop material, wall-mounted cabinetry, integrated or slim-profile appliances, contractor consultation for plumbing/electrical relocation if needed.
Quick How-To: Map your existing plumbing and electrical points first, since these often determine what’s realistic to consolidate. Plan cabinetry and appliances in one continuous run, keeping the opposite wall clear.
Styling Tip: Use one continuous countertop material rather than mixing surfaces — it visually extends the single wall and makes the layout feel intentional.
4. Neutral, Limited Color Palette
Restricting a kitchen to two or three colors — typically a wall tone, a cabinet tone, and one accent — is the single fastest way to make any kitchen read as “simple,” regardless of layout or size. Most of the visual chaos in busy kitchens comes from competing colors, not clutter.
What You’ll Need: sample paint pots in 2–3 chosen tones, painter’s tape, small textile or accessory swatches to test the accent color.
Quick How-To: Choose a wall color, a cabinet or major surface color, and one accent color (used only in small doses — a runner, a few dishes, one piece of art). Test all three together before committing.
Styling Tip: Keep the accent color to no more than 10% of the visible room — anything more and it stops reading as an accent.
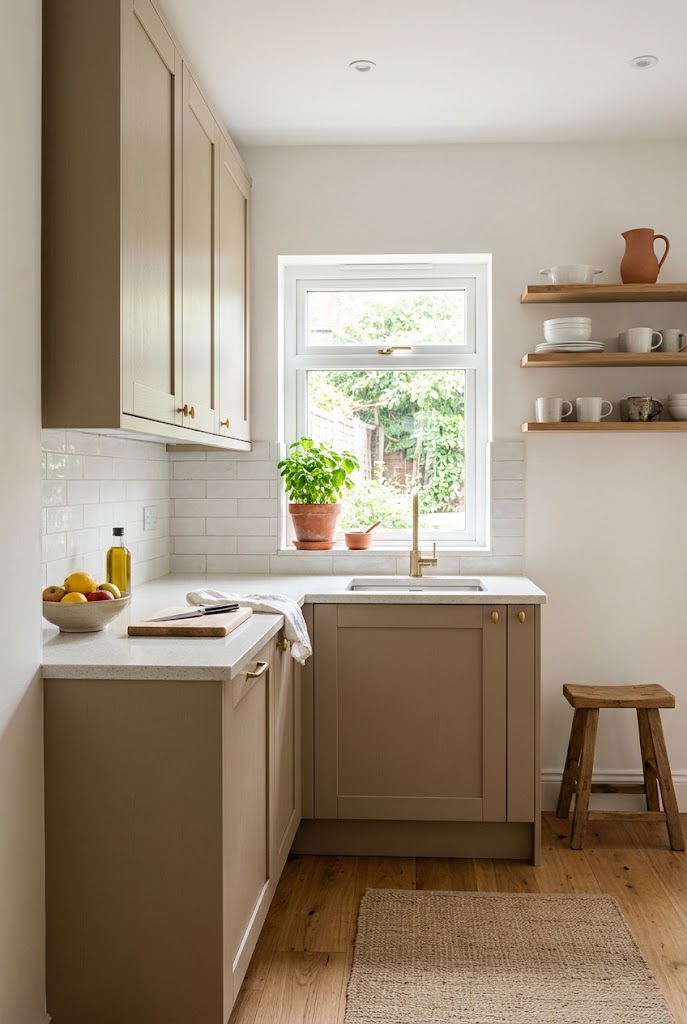
5. Natural Wood Accents
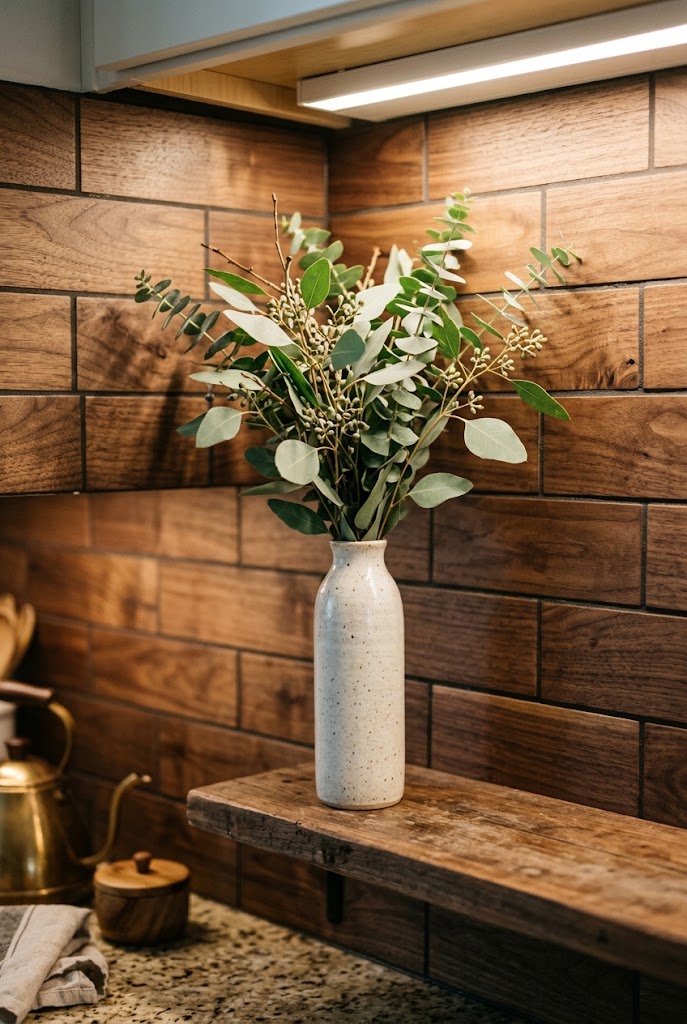
A single natural material — a wood countertop section, open shelving, or bar stools — softens an otherwise minimal kitchen so it doesn’t feel cold or clinical. The goal is one material used consistently, not wood mixed with three other finishes.
What You’ll Need: wood countertop section, floating wood shelf, or wood-framed stools, food-safe sealant if used near food prep areas.
Quick How-To: Choose one wood tone and apply it in a single element — a shelf, an island top, or seating — rather than scattering small wood accents throughout. Seal any wood surface that will contact food or moisture.
Styling Tip: Match the wood undertone (warm or cool) to your existing flooring so the accent feels connected, not random.
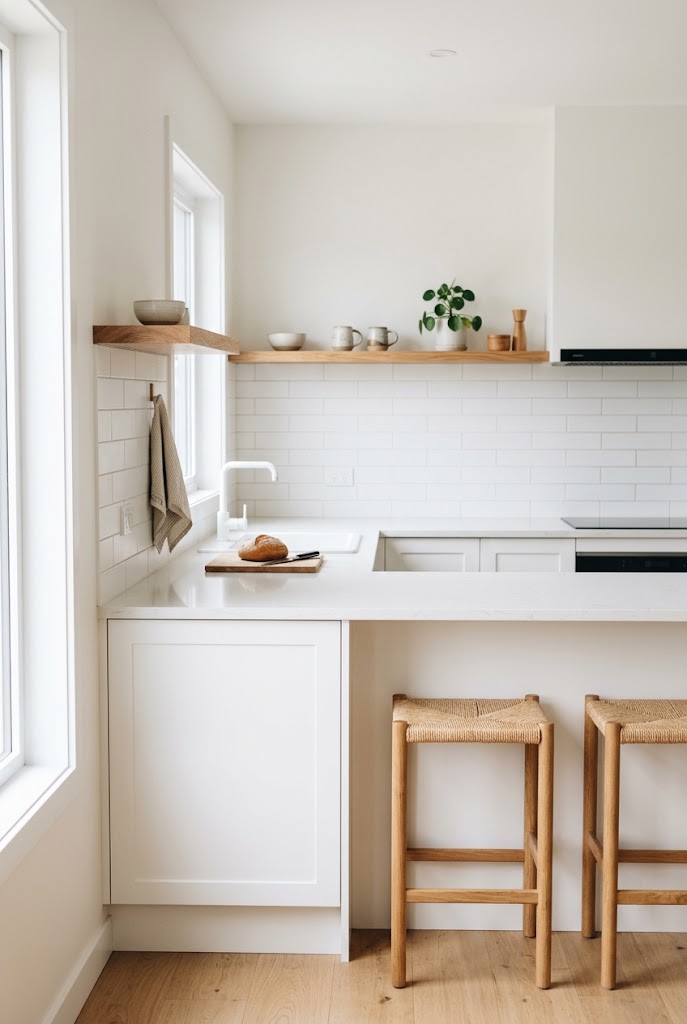
6. Hidden/Concealed Storage
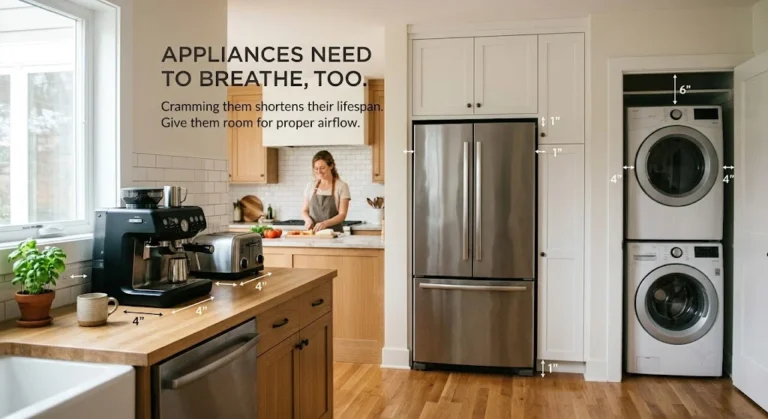
Concealed storage — appliance garages, tall pantry cabinets, and drawer organizers — is what actually makes a simple kitchen functional long-term. Without it, “simple” style collapses the moment daily use starts, because countertops fill up with things that have nowhere else to go.
What You’ll Need: tall pantry cabinet or appliance garage unit, drawer dividers, pull-out organizers.
Quick How-To: Identify what currently lives on your counters out of habit rather than necessity. Assign each category (small appliances, spices, utensils) a specific concealed location and install dividers or organizers to keep it that way.
Styling Tip: If countertop appliances must stay out, group them in one zone rather than spreading them across every surface.
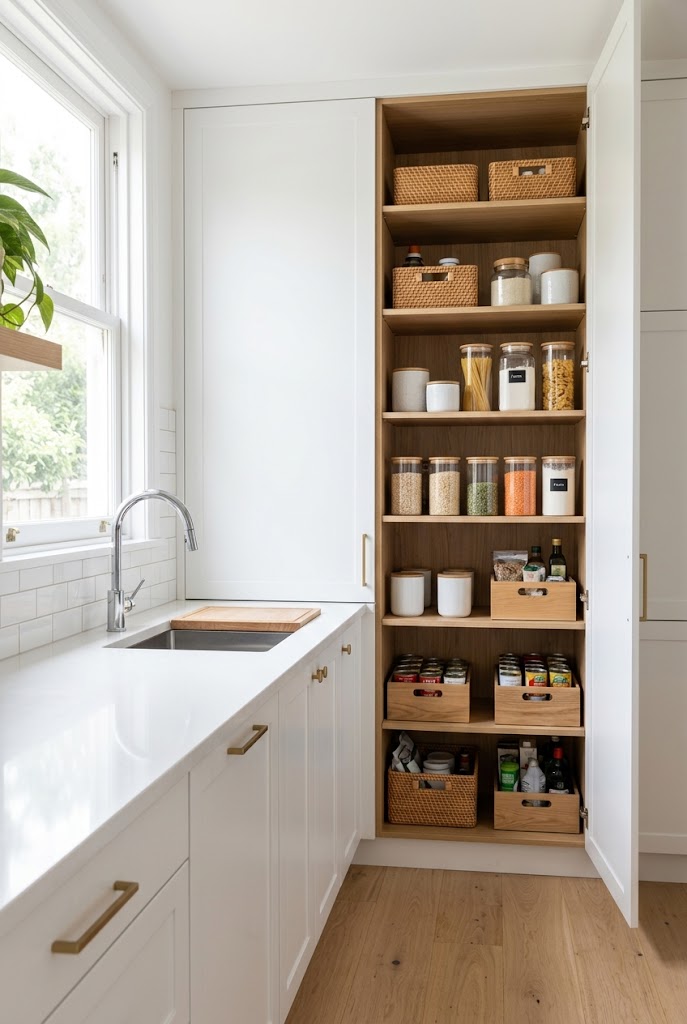
7. One Statement Light Fixture
A single well-chosen pendant or fixture over an island or sink gives a simple kitchen a focal point without adding visual clutter elsewhere. I always choose one fixture and let the rest of the lighting stay recessed and unobtrusive.
What You’ll Need: one pendant or statement fixture, appropriate mounting hardware, dimmer switch (optional).
Quick How-To: Choose a fixture in a finish that matches your hardware. Mount it centered over the island or sink at a height that doesn’t obstruct sightlines. Add a dimmer for flexibility between task and ambient lighting.
Styling Tip: One statement fixture is a feature; three matching ones over an island can start to feel busy — scale to your space size.
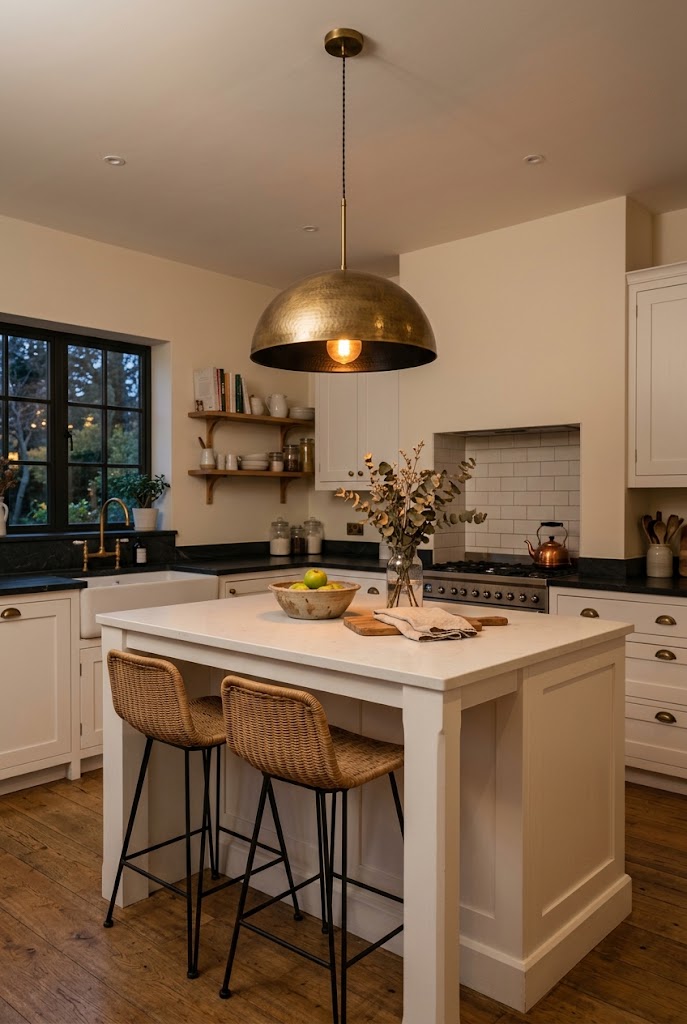
8. Simple Subway or Slab Backsplash
A plain subway tile or a single slab backsplash keeps the wall behind the stove and sink clean and easy to maintain, without introducing pattern or competing texture into an already simple room.
What You’ll Need: subway tile or slab backsplash material, tile adhesive and grout (for tile), or adhesive backing (for slab panels), trim pieces.
Quick How-To: Measure the backsplash area and choose either classic subway tile in a running-bond pattern or a single continuous slab panel. Install per material instructions, keeping grout lines minimal and consistent if using tile.
Styling Tip: Match the grout color closely to the tile color for the most seamless, simple look.
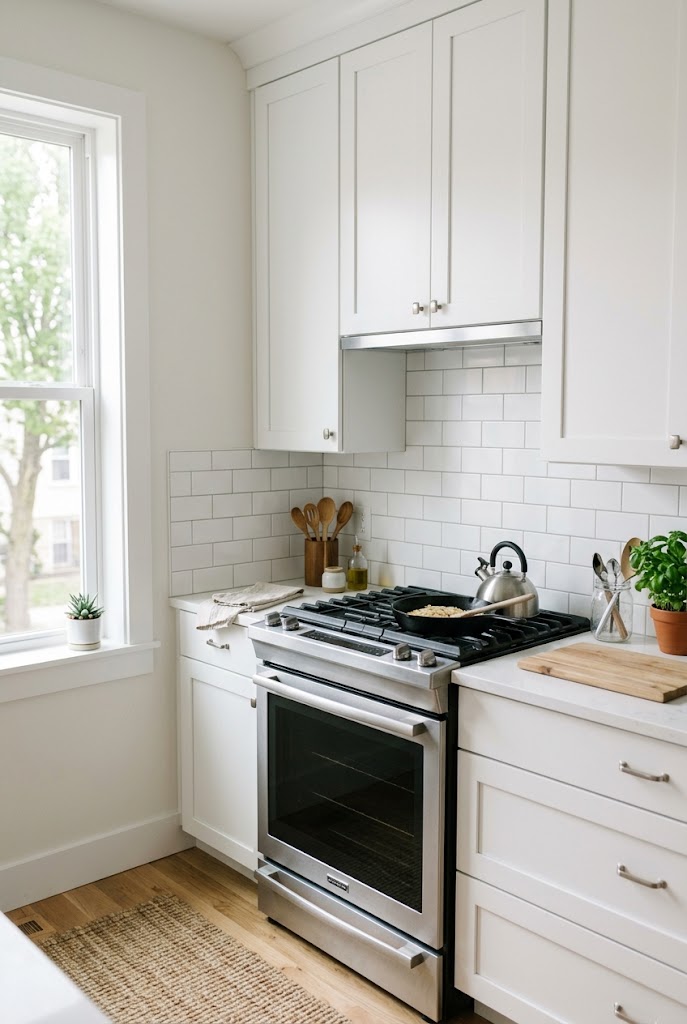
9. Functional Island With Storage
An island only supports a simple design if it earns its footprint through storage or seating — otherwise it becomes another surface that collects clutter. I always plan the island’s internal storage before finalizing its size.
What You’ll Need: island cabinetry base, countertop material, storage inserts or drawers, seating (optional).
Quick How-To: Measure your kitchen’s walkway clearance first — a minimum of 36–42 inches around the island is needed for comfortable movement. Plan internal storage (bins, drawers, a small appliance garage) before choosing the countertop.
Styling Tip: Keep the island top clear except for one small styled tray or bowl — treat it the same as any other countertop zone.
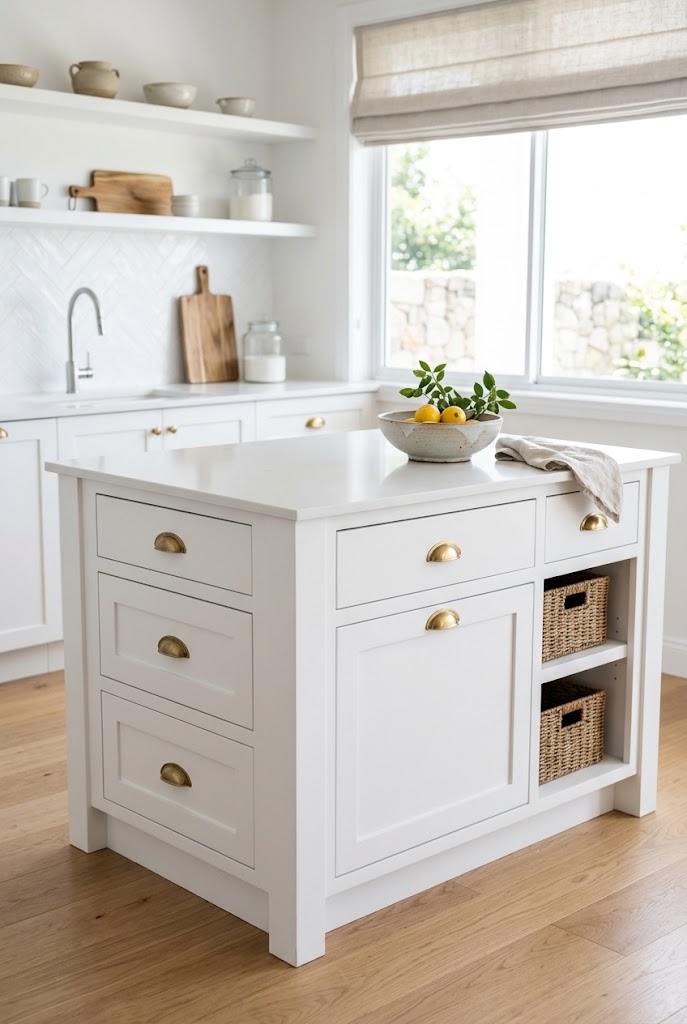
10. Matching Minimal Hardware
Swapping every cabinet handle and knob for one consistent, simple style is one of the cheapest, fastest upgrades in this list, and it has an outsized effect on how “finished” a kitchen looks.
What You’ll Need: matching cabinet pulls or knobs, a drill, measuring tape, a hardware jig (optional but helpful for consistent placement).
Quick How-To: Choose one hardware style and finish for the whole kitchen. Use a jig or careful measuring to ensure placement is consistent across every cabinet and drawer front.
Styling Tip: Slim, low-profile pulls read as more minimal than bulky knobs, especially on flat-panel cabinetry.
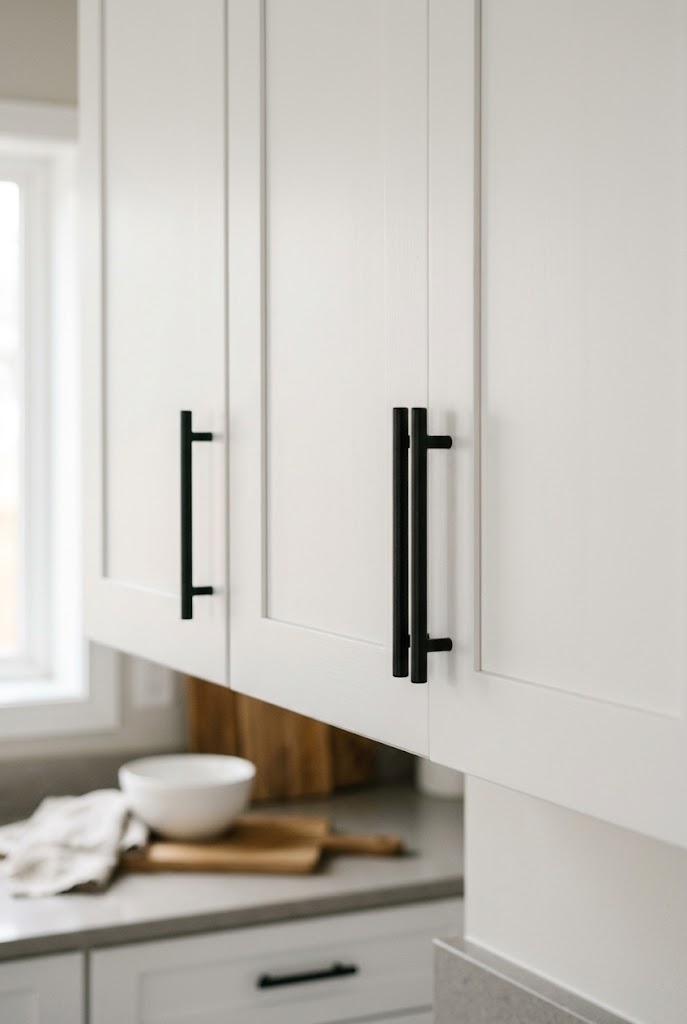
11. Greenery & Natural Touches
One or two low-maintenance plants — a small herb pot on the counter or a trailing plant on an open shelf — add life to a simple kitchen without introducing clutter or pattern.
What You’ll Need: one or two small potted plants (herbs, pothos, or snake plant), simple ceramic or terracotta pots, a saucer to protect surfaces.
Quick How-To: Choose a spot with adequate light — a windowsill or open shelf near natural light works best. Limit yourself to one or two plants so the addition stays intentional rather than decorative overload.
Styling Tip: A single plant in a simple, matte-finish pot reads as far more “designed” than several mismatched plants scattered around.
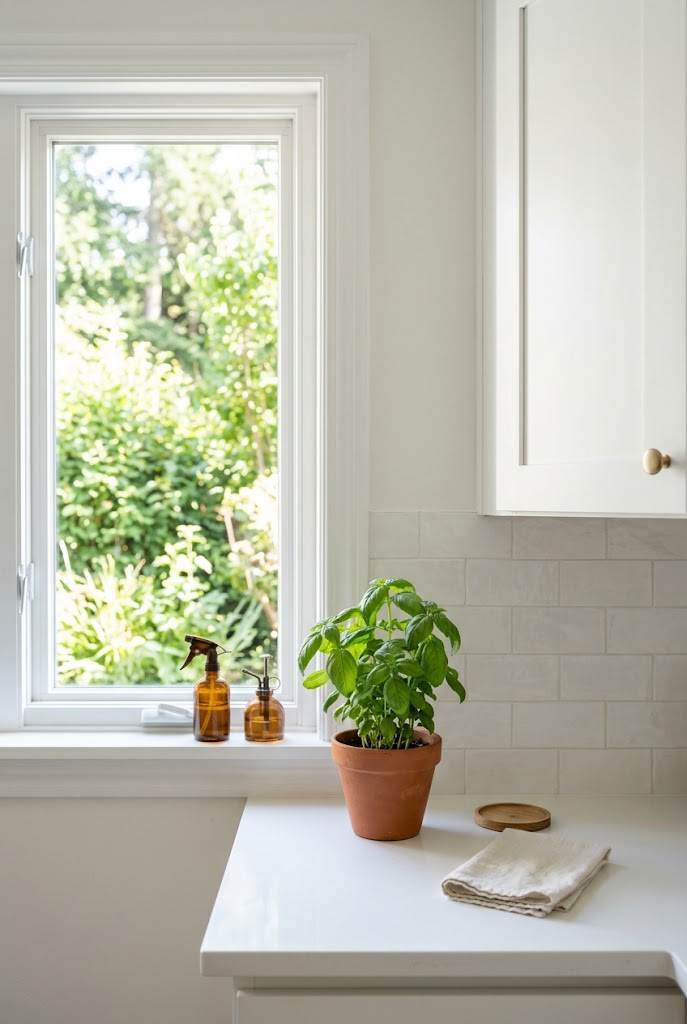
12. Decluttered Countertop Zones
The single biggest factor in whether a kitchen feels simple, regardless of the design choices behind it, is how much is sitting on the counters day to day. I recommend assigning each countertop section a specific purpose — prep zone, coffee zone, landing zone — and keeping only the essentials for that purpose visible.
What You’ll Need: drawer organizers or a small tray for grouping items, concealed storage for anything not in daily use.
Quick How-To: Walk your kitchen and note what’s currently on each counter section. Remove anything not used daily to concealed storage. Group what remains into clearly defined zones rather than spreading items evenly across every surface.
Styling Tip: If you only do one thing from this entire list, do this — an empty counter has more visual impact than any material or color choice.
My Professional Guide
Budget Breakdown by Approach
- Budget/Quick Refresh: $50–$300 — hardware swap, decluttering, one plant, paint touch-ups
- Mid-Range Upgrade: $300–$1,500 — cabinet repaint, open shelving, backsplash, statement lighting
- Full Renovation: $1,500–$10,000+ — new cabinetry, island build, layout changes, custom storage
Choosing a Palette That Lasts
Test paint and material samples in your kitchen’s actual lighting at different times of day before committing — north-facing kitchens read cooler and often need warmer undertones than south-facing ones to avoid feeling stark.
Storage-First Planning
Plan concealed storage before finalizing any visible design element. A kitchen that looks simple on install day but has nowhere to put daily items will stop looking simple within a few weeks of real use.
Maintenance Rhythm
Reset countertop zones weekly rather than only during a big declutter — five minutes of returning items to their concealed storage keeps a simple design working long-term, especially in high-traffic households.
Conclusion
A simple kitchen design isn’t about having less — it’s about every surface, color, and material earning its place. Start with the lowest-cost changes first: decluttering counters, unifying your hardware, and narrowing your color palette. From there, layer in the bigger updates — cabinetry, backsplash, or an island — only where they genuinely support the calm, functional space you’re building toward.
FAQ
What makes a kitchen design “simple”?
A limited color palette, uncluttered countertops, and consistent material and hardware choices throughout the space. Simplicity is achieved through restraint and intentional zoning, not through removing storage or function.
How can I make my kitchen look simple on a small budget?
Declutter countertops, unify your cabinet hardware, and paint walls in one neutral tone. These three changes cost very little and have the largest visual impact of anything on this list.
Is open shelving practical for a simple kitchen?
Yes, when used sparingly — one or two shelves styled with a small, curated set of items. A full wall of open shelving tends to become cluttered and works against the simple aesthetic.
What colors work best for a simple kitchen design?
Neutral tones — whites, soft beiges, warm grays — paired with one small accent color used in limited doses. Consistency across surfaces matters more than any specific color choice.
Do I need to renovate to achieve a simple kitchen look?
No. Decluttering, a hardware swap, and a fresh coat of paint can significantly shift a kitchen’s feel without any structural or cabinetry changes.
How do I keep a simple kitchen from looking cluttered over time?
Assign every countertop section a specific purpose and reset it weekly. Concealed storage for anything not used daily is what keeps a simple design functional in real, everyday use.
Related Posts
Follow us on Pinterest for more bathroom design