How to Make Christmas Tree Bows in 12 Easy Steps
Store bought bows look perfect because they follow a simple method, not because they use magic materials. Once you learn how to make christmas tree bows yourself, you can match any tree theme, fix a flat bow in seconds, and make as many as you need for very little money. All you need is wired ribbon, scissors, floral wire, and a little patience on the first one.
Work on a table with good light and cut all your ribbon before you start looping. Your first bow may take ten minutes. By the third one you will be making them in under three minutes each, and they will look just as full as the ones from the store.
1. Choose Wired Ribbon for Bows That Hold Their Shape
Wired ribbon is the secret behind every full looking bow. The thin wire inside each edge lets loops stand up instead of flopping flat. Choose ribbon at least one and a half inches wide for a standard tree, and two and a half inches wide for a large tree or a tree topper. Velvet, burlap, and grosgrain all work well. Avoid thin satin without wire for your first bows, because it slips and loses shape quickly.
2. Measure the Right Ribbon Length for Each Bow
A medium bow needs about one yard of ribbon, while a large topper bow needs closer to two yards. Cut a little extra on your first few bows so you have room to fix mistakes. Long tails look elegant on tall trees, so add six extra inches if you want tails that hang past the loops. Keep a measuring tape on the table until you can judge lengths by eye.
3. Cut the Tails First So Nothing Goes Short
Many beginners run out of ribbon for the tails because they start with the loops. Cut one long piece and set it aside for the tails, then use a second piece for the loops. This way both parts get the length they need. If you want matching tails on every bow, cut all your tail pieces at once before you start looping. This small habit keeps a whole tree looking even.
4. Make the First Loop in the Center of the Ribbon
Hold the loop piece at its center and fold one side into a loop about four inches long. Pinch the base of the loop between your thumb and finger and do not let go. The pinch is your anchor for everything that follows. Keep the loop round and full rather than flat. A good first loop sets the size for the whole bow, so check it against your hand before moving on.
5. Build Loops in Pairs for a Balanced Bow
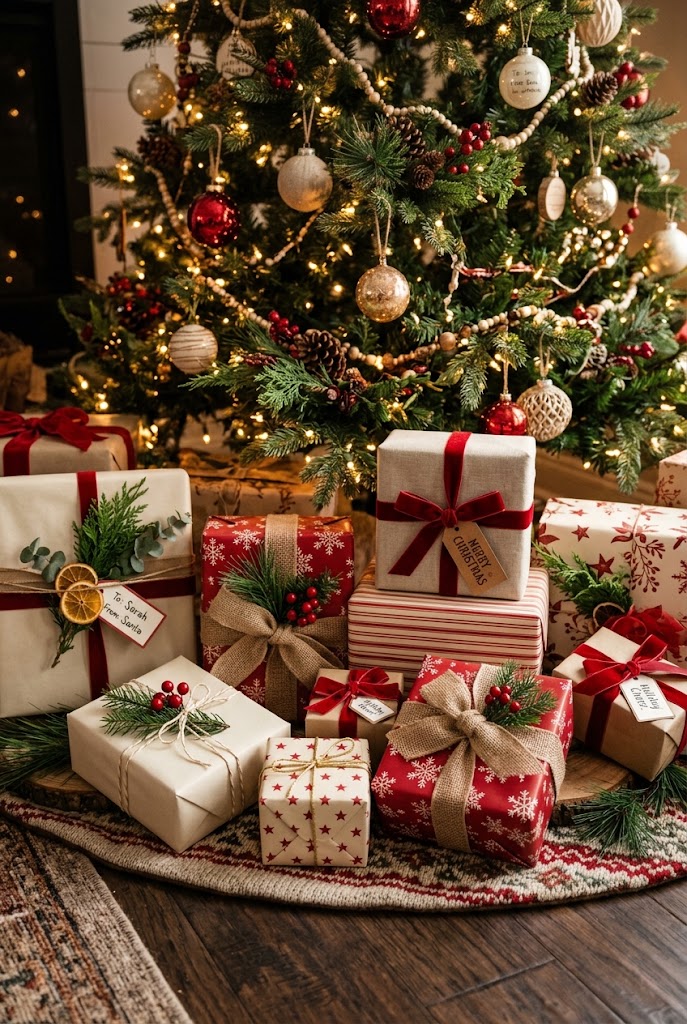
Add loops one pair at a time, one on the left and one on the right, always returning to the center pinch. Four loops make a simple bow, six loops make a full bow, and eight loops make a showpiece topper. Keep each loop close in size to the first one so the bow looks even. This pairing method is also how the bows in the christmas tree decor ideas with bows get their even shape.
6. Pinch the Center Tight Before You Tie Anything
Before any wire goes on, gather all the loop bases into one tight pinch at the center. If the pinch is loose, the loops will slide and the bow will fall apart on the tree. Press the layers together firmly and hold them while you reach for the wire. Some makers wrap a small rubber band around the pinch first to hold it while they work. The tighter the center, the cleaner the finished bow looks.
7. Wrap Floral Wire Around the Center Twice
Cut a piece of floral wire about eight inches long and wrap it around the pinched center twice, pulling it snug. Twist the wire ends together at the back so they form a short stem. This stem is what you will use to attach the bow to the tree later, so leave it at least two inches long. Do not cut the wire short here, because a short stem makes attaching much harder.
8. Tie a Center Knot to Hide the Wire
A small knot or a short fold of ribbon over the center hides the wire and gives the bow its finished look. Cut a three inch piece of the same ribbon, wrap it around the center, and glue or tie it at the back. This center knot is the detail that makes a homemade bow look store bought. Match the knot ribbon to the bow for a classic look, or use a contrasting color for a playful accent.
9. Fluff and Shape Every Loop Before You Hang It
Pull each loop gently outward and twist it slightly so it faces forward instead of sideways. Work from the inside loops to the outside loops, giving each one a round shape. If a loop looks flat, push a little air into it with your fingers and reshape it. Fluffing takes a minute per bow and makes the biggest difference in how full the bow looks. Never skip this step, even when you are in a hurry.
10. Cut Dovetail Tails for a Clean Finish
Fold each tail in half lengthwise and cut diagonally from the fold to the edge to make a neat V shape. This dovetail cut stops the ribbon from fraying as fast and looks far more polished than a straight cut. Make both tails the same length unless you want a deliberately uneven look. Attach the tails behind the center knot so they hang naturally. The same tail finish works beautifully on the christmas mantel decor ideas garland, so one skill serves the whole room.
11. Attach the Bow Deep Into the Branch
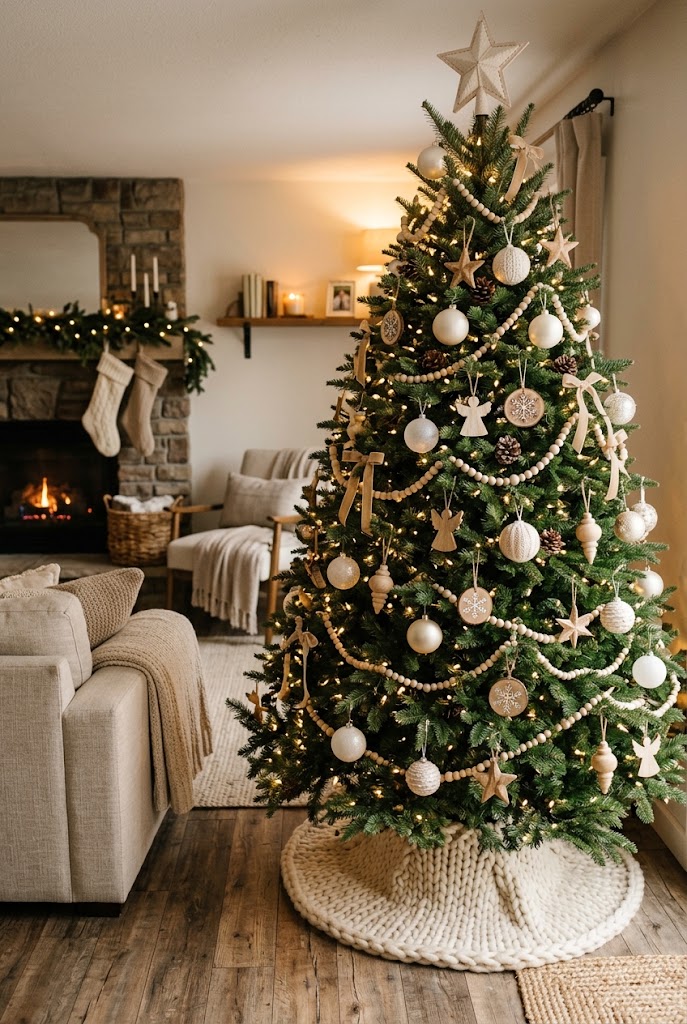
Push the wire stem deep into the branch and twist it around the branch twice so the bow cannot slip. A bow sitting on the surface looks stuck on, while a bow wired deep into the green looks like it grew there. Place larger bows lower on the tree and smaller bows near the top, following the natural taper of the branches. Step back after every few bows to check the balance before you finish.

12. Space Your Bows Evenly Around the Whole Tree
A six foot tree needs about eight to twelve bows, while a seven and a half foot tree needs twelve to eighteen. Walk around the tree as you place them, because the back and sides matter as much as the front. Leave open space between bows so ornaments and lights still show. When the whole tree is done, the bows should feel like part of the design, not crowded on top of it. For fresh styling ideas to pair with your bows, see the christmas tree ideas 2026 and the front porch christmas decor ideas for the outside of the house.
Final Thoughts
Making your own christmas tree bows is one of the easiest ways to make your tree look expensive on a small budget. Wired ribbon, even loops, a tight center, and a little fluffing are all it takes. Make a few extra bows while you are at it, because they also dress up wreaths, garlands, and gifts, and they make lovely handmade presents on their own.