12 Kitchenette Ideas for Studio Apartments That Feel Bigger Than They Are
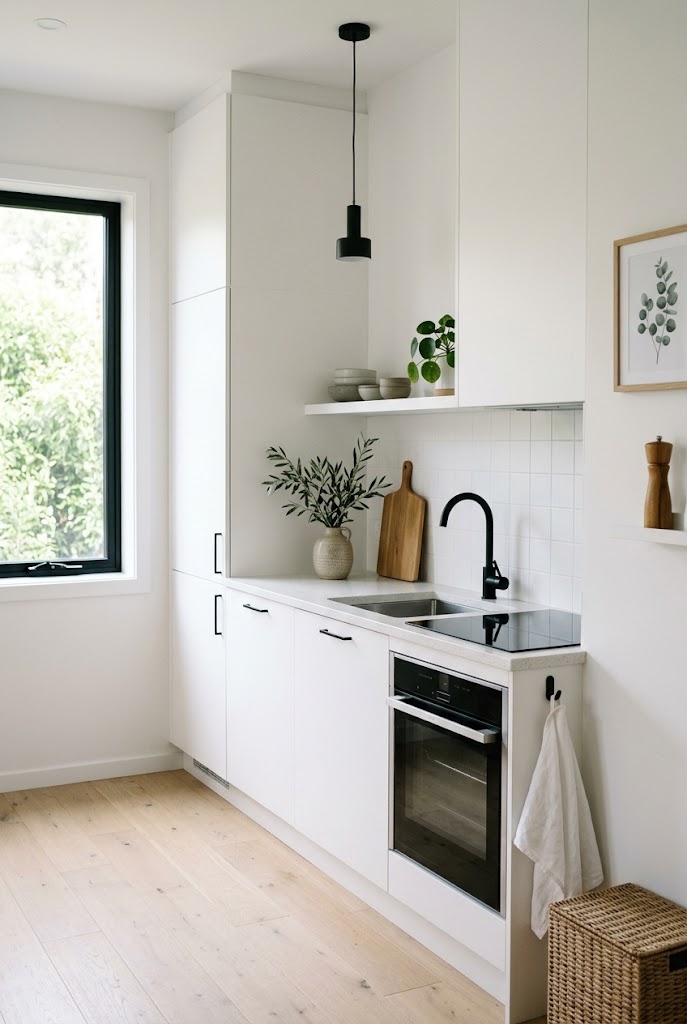
I’ve noticed the kitchenettes that actually feel intentional — not just cramped — share one thing in common: they commit to a bold design choice rather than trying to minimize the space’s smallness. A kitchenette boiled down to a small sink, compact appliances, and limited counter space doesn’t need to apologize for its size; it needs a design decision confident enough to make that size feel like a feature. Below are 12 ideas, each with the practical detail — measurements, cost, and real trade-offs — that make the difference between an inspiring photo and something you can actually build in your own space.
1. Color-Drench the Entire Kitchenette
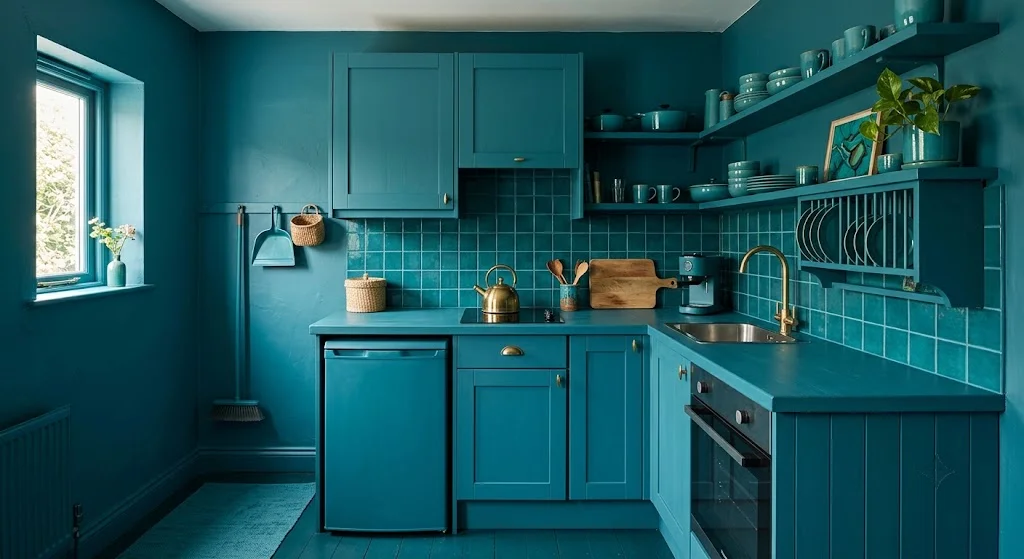
Painting walls, cabinetry, trim, and even the ceiling in one continuous, saturated color removes the visual “edges” that normally define a small kitchenette’s boundaries, making the whole space read as one immersive zone rather than a cramped corner.
I’d choose a color with some depth (a deep maroon, forest green, or navy) rather than a pale tone for this specific technique — color drenching works because of the enveloping, cohesive effect, which pale colors don’t create as dramatically.
Cost: low-to-mid ($100-250 in paint for a typical kitchenette-sized area, including cabinetry.) Best for: kitchenettes under 50 square feet with minimal existing color competition nearby.
2. Commit to a Bold Accent Wall
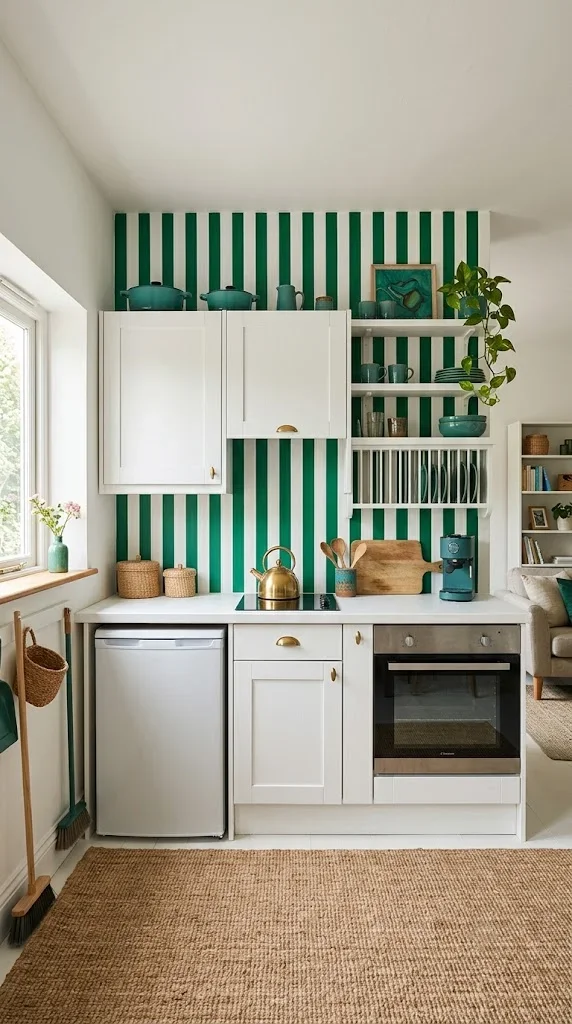
In an open-concept studio, a bold accent wall — painted, tiled, or wallpapered — visually separates the kitchenette from the rest of the living space without needing any actual wall or barrier.
I’d choose this specifically over color-drenching the whole space if your kitchenette shares open sightlines with your living or sleeping area, since one strong wall reads as a defined “kitchen zone” without visually shrinking the connected room the way a fully saturated small space might.
Cost: low-to-mid ($75-200 for paint, more for tile or wallpaper.) Best for: open-concept studios and railroad-style apartments.
3. Install an Oversized Statement Pendant
A single large pendant light, sized noticeably bigger than what a kitchenette this size would typically get, draws the eye upward and creates a genuine focal point without using any floor or counter space at all.
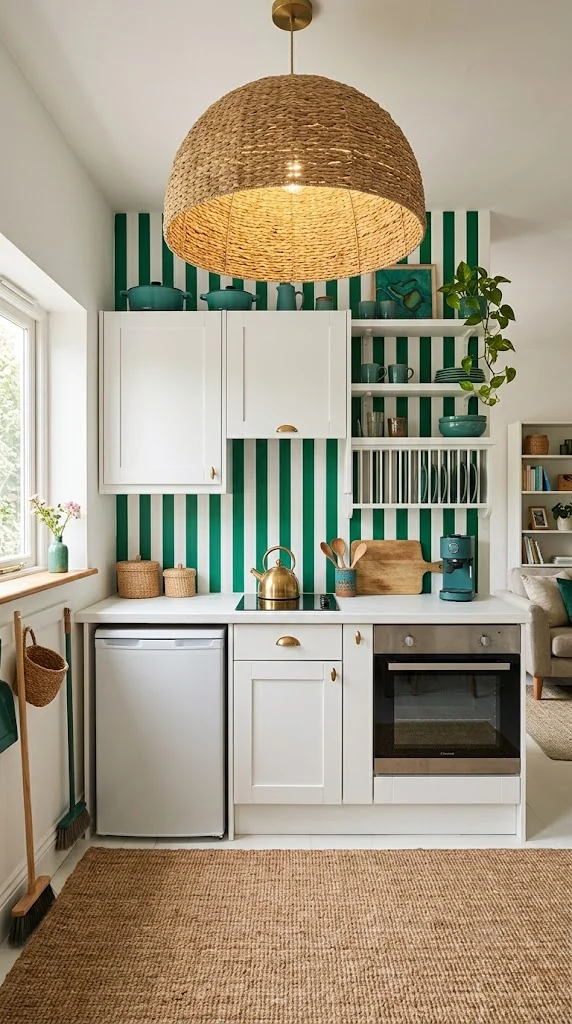
I’d hang the pendant with the bottom edge roughly 28-34 inches above the counter (or higher if it’s over an open area rather than a work surface), and check your fixture’s actual diameter against your ceiling height before ordering — an oversized pendant needs enough vertical clearance to avoid feeling like it’s looming over the space.
Cost: mid ($100-350 for the fixture, plus installation if hardwiring is needed.) Best for: kitchenettes with at least 8-foot ceilings.
4. Add a Removable Statement Backsplash
Peel-and-stick tile lets you frame the wall behind a stove or hot plate with real visual impact, without committing to anything permanent — genuinely useful in a rental where painting or tiling isn’t allowed.
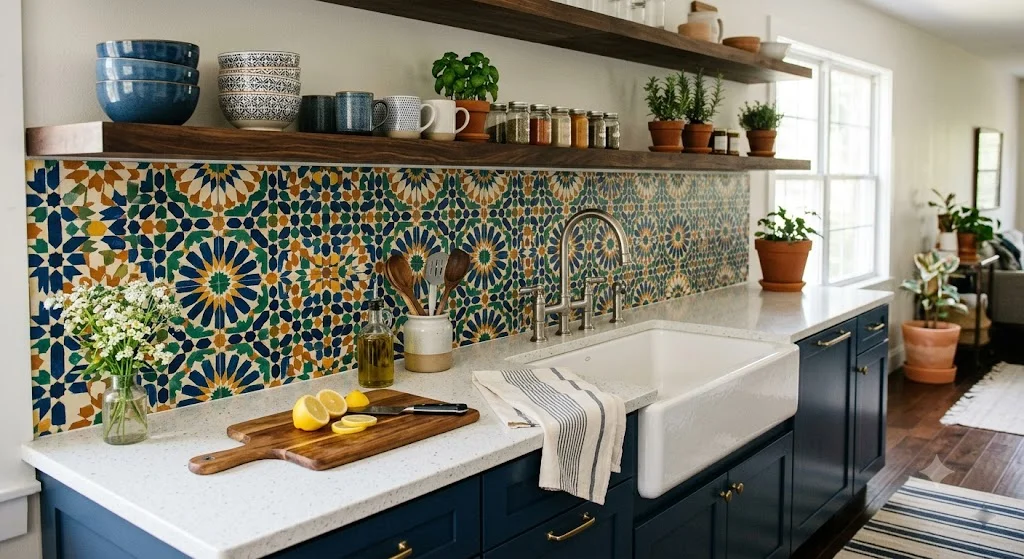
I’d measure your specific backsplash area (typically 18-24 inches behind a stove or counter section) before ordering tile, since peel-and-stick sheets come in fixed sizes and partial cuts around outlets need to be planned for.
Cost: low ($40-120 for a full small backsplash area.) Best for: renters, or anyone wanting a low-commitment visual upgrade.
5. Build In a Small Eat-In Nook
If your studio has an open or railroad-style layout, a small banquette or a compact bistro table and two chairs tucked beside the kitchenette creates a genuine dining spot without needing a separate dining room.
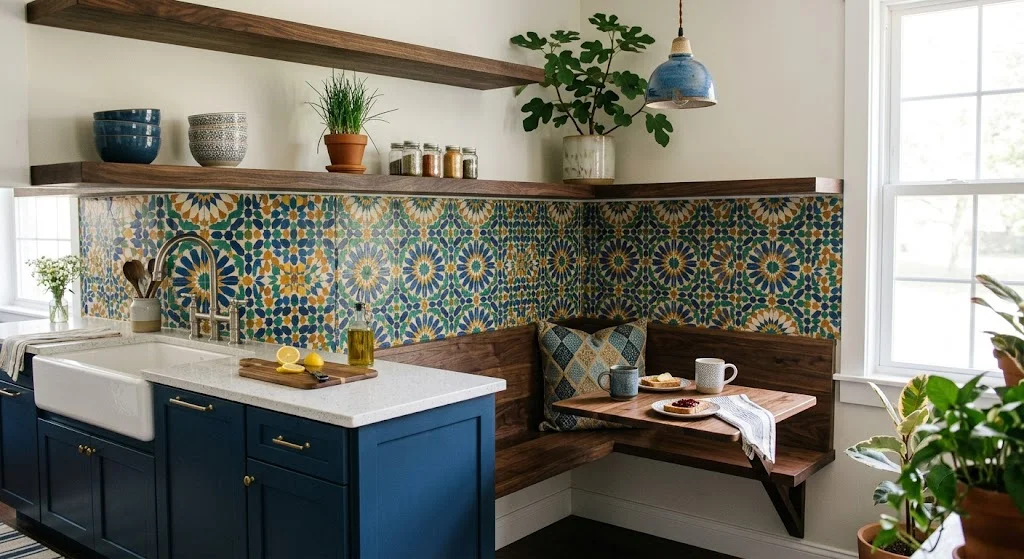
I’d measure for at least 24-30 inches of clearance behind any chair for someone to comfortably sit down and get up, even in a tight nook — undersizing this clearance is the most common mistake with small eat-in spaces.
Cost: mid ($150-500 depending on whether you build a banquette or buy a bistro set.) Best for: open-concept or railroad-style studios with a few extra feet of adjacent space.
6. Design a Custom Solution for Awkward Appliance Placement
If your studio’s layout puts a fridge, dishwasher, or stove in an inconvenient spot, a custom-built island or storage hutch can absorb an oddly placed appliance into the design rather than leaving it visually stranded.
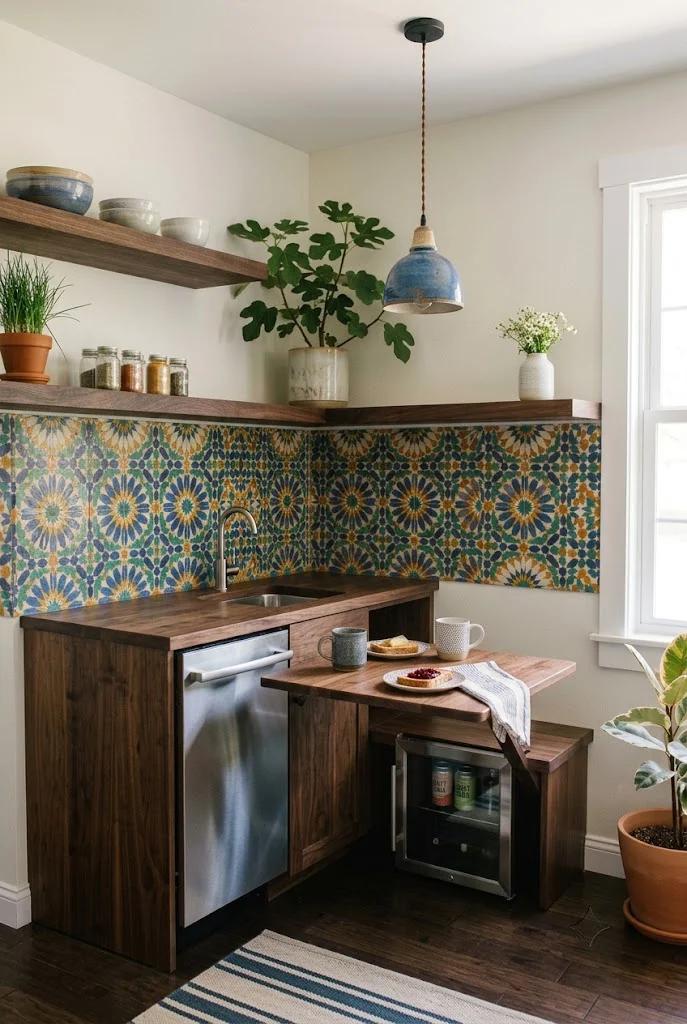
I’d sketch your actual appliance placement and measurements before designing any custom piece, since a solution built to genuinely fit your specific layout (rather than a generic “kitchen island” bought off the shelf) is what actually resolves an awkward floor plan.
Cost: mid-to-high ($300-1,200+ depending on materials and whether it’s custom-built or modified from an existing piece.) Best for: studios with genuinely unusual appliance placement.
7. Maximize Storage Beyond the Cabinets
When cabinet space is inherently limited — especially common in rental kitchenettes — open shelving on any available vertical wall space, plus storage built into a counter, island, or even bench seating, adds real capacity beyond what came with the unit.
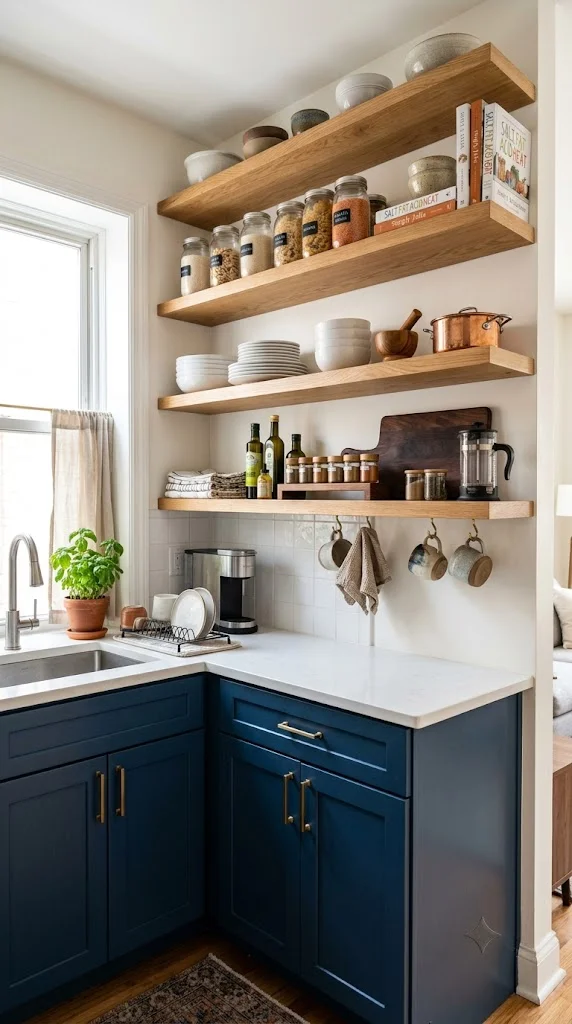
I’d prioritize shelving directly adjacent to existing cabinetry rather than a disconnected spot elsewhere in the kitchenette, since this reads as an intentional extension of the storage system rather than a separate, mismatched addition.
Cost: low-to-mid ($60-200 for wall-mounted shelving.) Best for: any kitchenette with more vertical wall space than cabinet storage.
8. Give Appliances Breathing Room Instead of Cramming Them
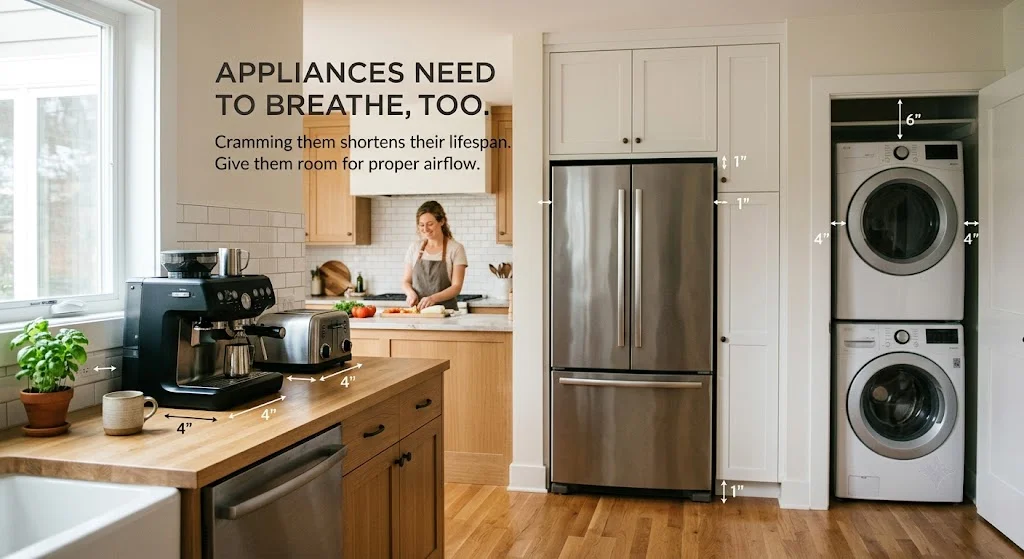
Rather than pushing the fridge, stove, and any additional appliances onto a single wall, spacing them out — even using a small moveable island or rolling cart to fill the gaps between — makes the kitchenette read as a considered layout rather than a cramming exercise.
I’d use furniture on locking wheels specifically for any moveable piece placed between appliances, so it stays put during regular use but can shift when you need extra clearance for cleaning or rearranging.
Cost: low-to-mid ($75-250 for a rolling cart or small moveable island.) Best for: kitchenettes with appliances currently crowded onto one wall.
9. Choose Open Shelving When Cabinet Space Runs Out
In a kitchenette with genuinely minimal built-in storage — some studio units offer as little as a few feet of wall space — open shelving anchored to existing cabinetry adds function without requiring any structural changes.
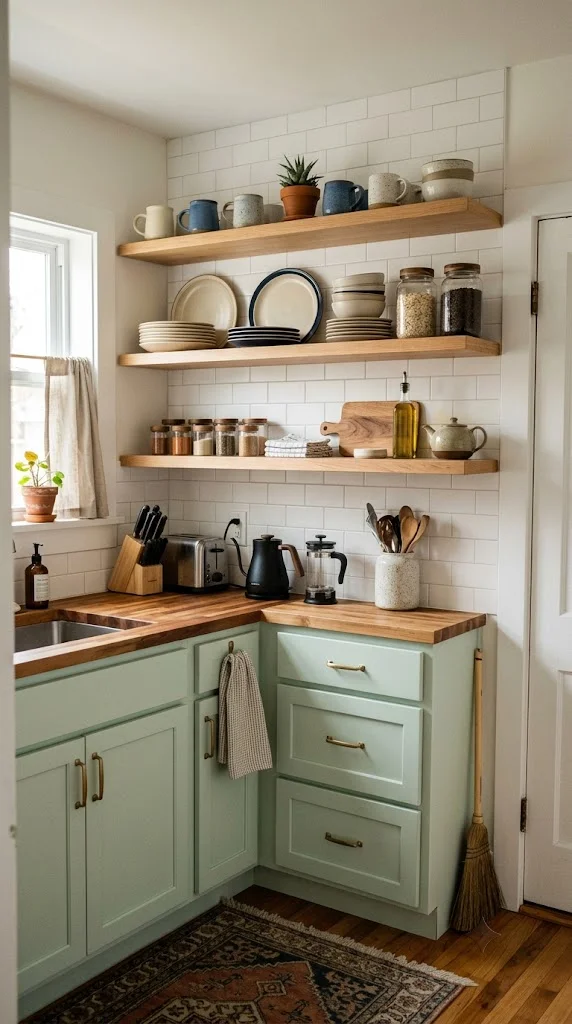
I’d choose standalone, removable shelving units specifically in a rental, so the addition leaves with you rather than requiring wall repair at move-out, and I’d keep displayed items intentionally curated (not a full pantry’s worth) since open shelving in a tiny kitchenette is visible from nearly every angle of a studio.
Cost: low ($40-150 for wall-mounted or standalone shelving.) Best for: rentals with minimal cabinet storage and available vertical wall space.
10. Use a Rolling Cart as Flexible Extra Counter Space
A slim rolling cart, sized to slide into whatever narrow gap your specific layout has available, adds genuine prep surface and storage that didn’t exist in the kitchenette’s original footprint.
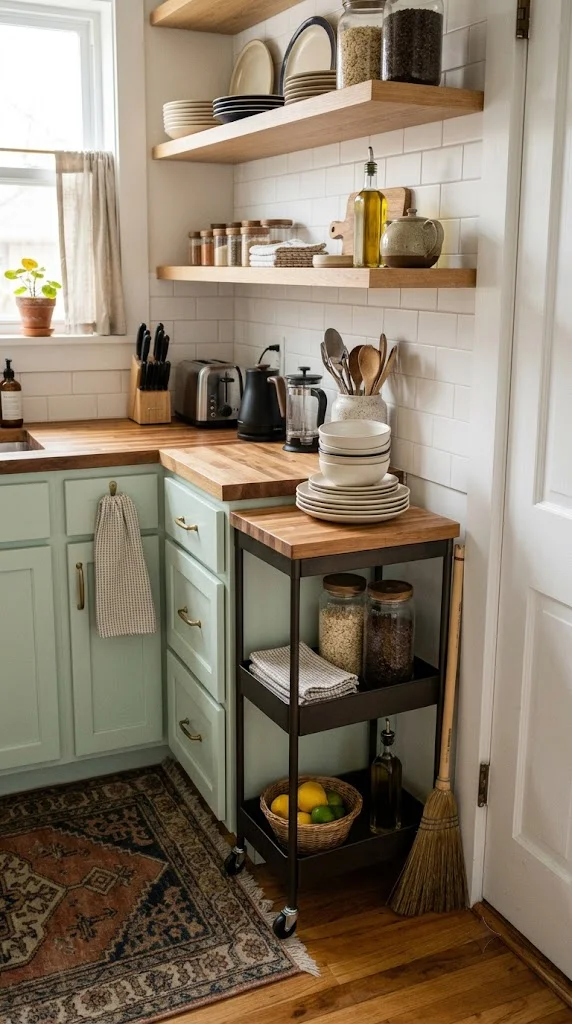
I’d measure the exact gap available before buying, since rolling carts come in fairly specific width increments, and a poor fit either won’t slide in cleanly or will leave awkward visible gaps.
Cost: low-to-mid ($40-120.) Best for: any kitchenette lacking sufficient counter space for actual food prep.
11. Frame the Kitchenette with a Consistent Material Story
Choosing one cohesive material palette — a specific wood tone, a single metal finish, one tile style — across cabinetry, hardware, and any open shelving keeps a visually complex, tightly packed kitchenette from feeling chaotic despite fitting a lot into a small footprint.
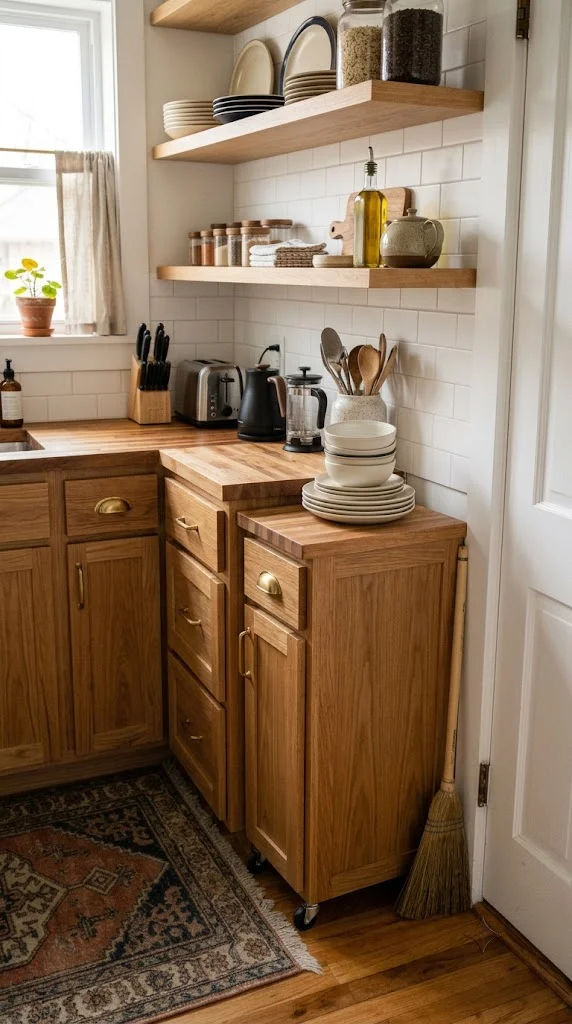
I’d commit to this material consistency before adding any bold color or pattern elsewhere (like an accent wall or backsplash), since the material story acts as the “quiet” foundation that lets a bolder design choice stand out intentionally rather than adding to overall visual noise.
Cost: varies significantly by material choice ($0 if working with existing cabinetry and hardware, $200-800+ if updating finishes.) Best for: kitchenettes combining several bold design choices from this list at once.
12. Let Lighting Do Double Duty as Style and Function
Beyond a single statement pendant, layering in under-cabinet task lighting and even a small plug-in sconce or accent light lets a kitchenette feel warmer and more finished in the evening, while genuinely improving prep visibility during actual cooking.
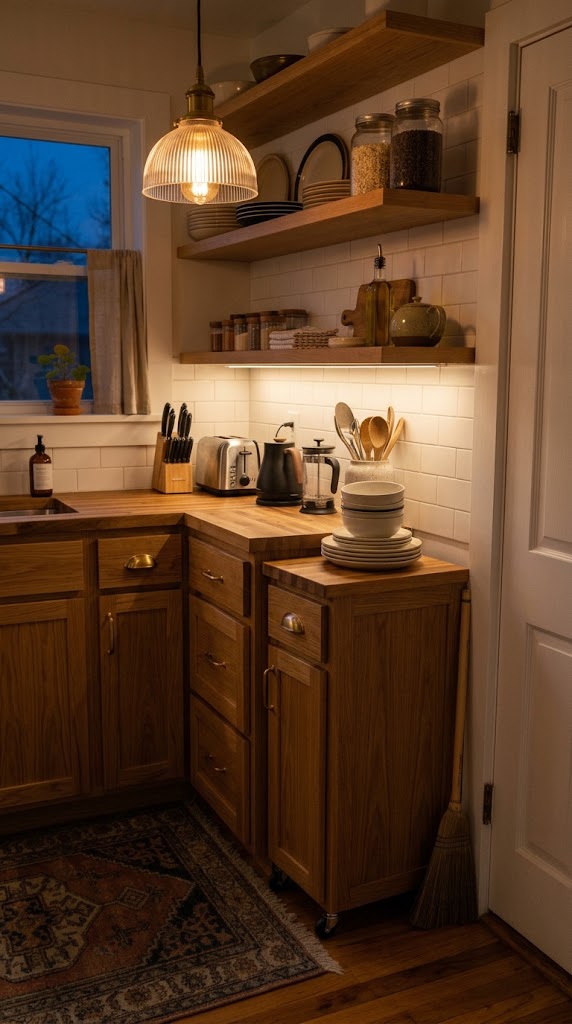
I’d choose warm white bulbs (2700-3000K) throughout for consistency, and prioritize under-cabinet lighting specifically over any counter space used for actual food prep, where shadow from overhead or pendant lighting alone tends to be the most noticeable.
Cost: low-to-mid ($50-180 for a full under-cabinet lighting kit.) Best for: any kitchenette, especially those relying on a single overhead or pendant light source currently.
My Professional Guide to Designing a Small Kitchenette
I always start by choosing one bold, defining design decision — color drenching, a statement pendant, a striking backsplash — rather than trying to combine several competing focal points in a space this size. A kitchenette has very little visual “runway,” so one confident choice reads as intentional design, while several simultaneous statements start to compete with each other.
From there, I address function honestly: measure actual gaps, appliance placement, and clearances before buying anything, since a kitchenette’s small size means even a few inches of miscalculation can mean a piece genuinely doesn’t fit or work as intended.
Finally, I’d let material consistency do quiet supporting work underneath whatever bold choice you’ve made. A cohesive wood tone or metal finish across cabinetry and hardware keeps even a visually bold, tightly packed kitchenette feeling curated rather than cluttered.
Conclusion
A kitchenette doesn’t need more square footage to feel intentional — it needs one confident design decision, real measurements taken before buying anything, and a cohesive material story tying it together. Whether that’s a saturated color, a statement pendant, or simply smarter use of available vertical space, committing fully to one strong idea will do more for a small kitchen than trying to minimize its size ever could.
Frequently Asked Questions
How do I make a small kitchenette feel bigger?
Committing to one bold design choice — like color drenching the whole space or installing an oversized statement light — tends to make a kitchenette feel more intentional and complete than trying to visually shrink or hide its small size.
What’s the best lighting for a kitchenette?
An oversized statement pendant creates a focal point without using floor space, while layering in under-cabinet task lighting improves actual prep visibility — using both together covers style and function.
How can renters add storage to a kitchenette without permanent changes?
Standalone, removable open shelving units, peel-and-stick backsplash tile, and rolling carts all add real function and style without requiring any permanent changes or wall repair at move-out.
Should I paint my kitchenette a bold color or keep it neutral?
A bold, saturated color (through color drenching or an accent wall) tends to make a small kitchenette feel more immersive and complete, while a neutral palette works best if you plan to introduce boldness through other elements, like tile or lighting, instead.
Follow us on Pinterest for more small space Kitchenette Ideas inspiration!
- 25 Small Apartment Living Room Ideas 2026
- 25 Small Bedroom Ideas 2026
- 25 Small Kitchen Ideas 2026
- 25 Small Bathroom Ideas 2026