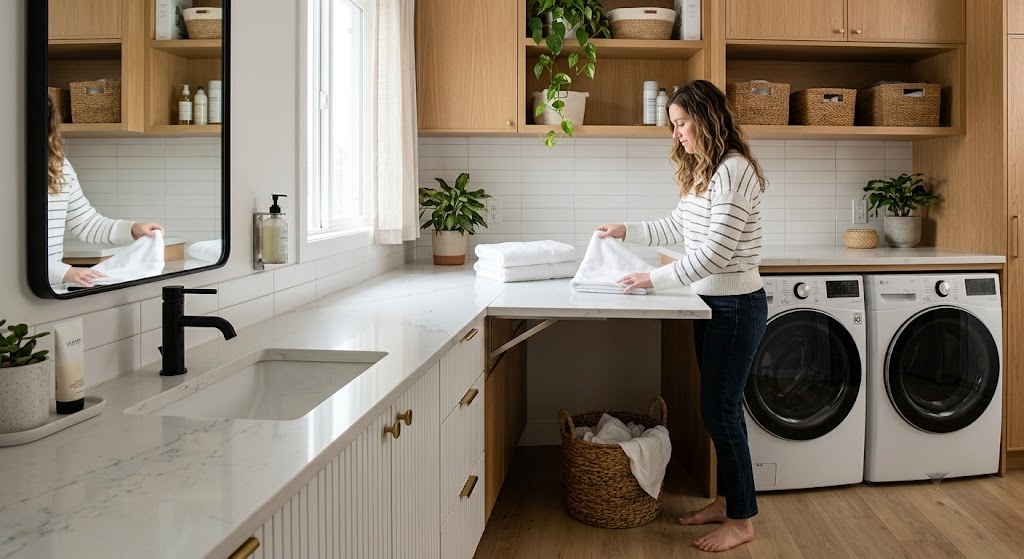
Bathroom Laundry Combo Ideas: 14 Ways to Combine Function and Style
I’ve planned enough combined bathroom-laundry spaces to know the successful ones share a common thread — they solve the practical requirements (ventilation, clearance, plumbing) before worrying about how it looks. A bathroom laundry combo can absolutely be both functional and genuinely attractive, but only if the appliances are sized and positioned correctly from the start. Below are 14 ideas, each with real measurements and budget guidance to help you plan rather than just browse.
Core Planning Requirements (Before Any Design Decision)
Space for a stacked unit: Standard stacked washer-dryer units run roughly 24-27 inches wide and need at least 3-4 inches of clearance behind for hose and vent connections.
Space for side-by-side units: A standard side-by-side washer and dryer setup needs a minimum of 60 inches of wall width, plus clearance in front for door swing and loading.
Ventilation: Bathrooms already handle significant moisture; adding a dryer increases this substantially. A dryer needs dedicated exterior venting (not just the bathroom’s existing fan) to avoid trapping excess humidity and lint indoors.
Professional involvement: Plumbing, electrical, and structural changes for this kind of combo space should go through a licensed professional and follow local building codes — this isn’t a DIY-only project once you’re moving water lines or adding electrical circuits.
1. Stack the Washer and Dryer Vertically
A stacked configuration is the single most space-efficient layout available, using the room’s height rather than additional floor footprint, and leaves more open floor area for a vanity, toilet, or storage.
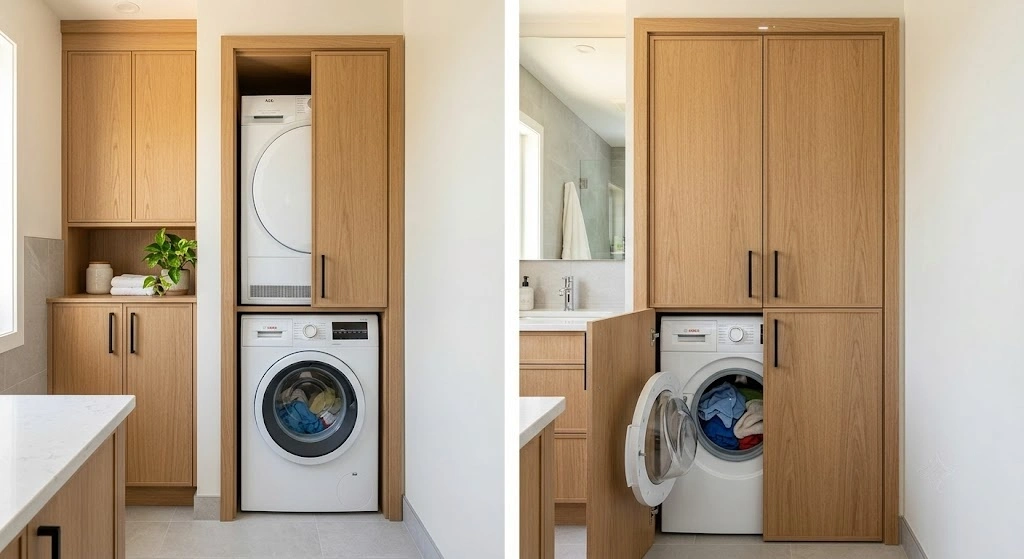
I’d confirm your specific washer model is rated for stacking (not all are) before purchasing a stacking kit, and build in a dedicated cabinet or alcove around the unit for a finished, intentional look.
Budget tier: mid ($200-500 for a stacking kit and basic enclosure, more for custom cabinetry.)
2. Built-In Cabinetry Around the Appliances
Framing the washer and dryer with matching cabinetry — storage above, beside, or underneath depending on your layout — makes the appliances feel like an intentional part of the room rather than an afterthought.
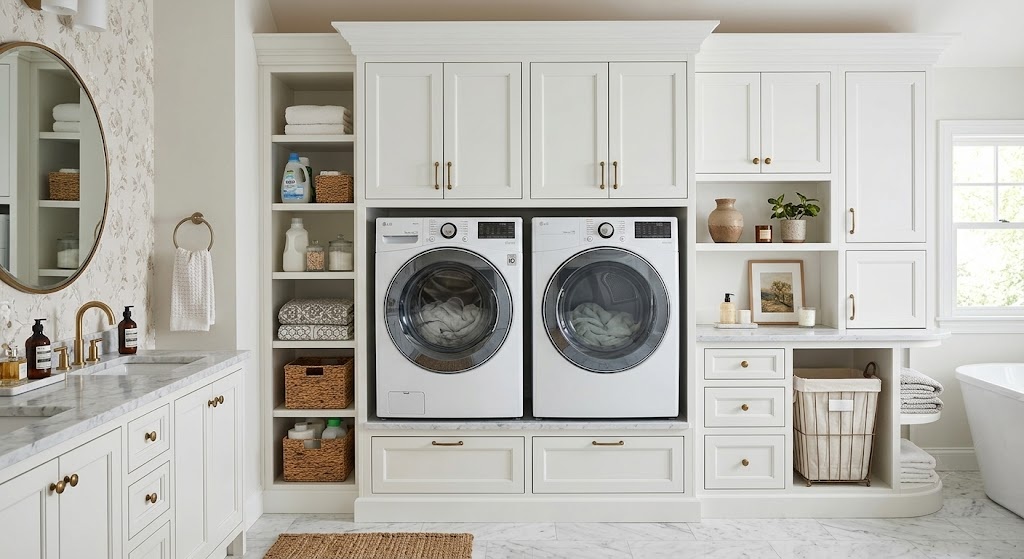
I’d reserve upper cabinet space for lighter, less frequently used items (spare linens, backup detergent) and keep daily essentials within easy reach at a lower height.
Budget tier: mid-to-high ($400-1,500+ depending on cabinetry scope.)
3. Fold-Down Laundry Counter
A wall-mounted counter that folds down when needed and back up against the wall when not gives you genuine folding space without permanently occupying the room’s footprint.
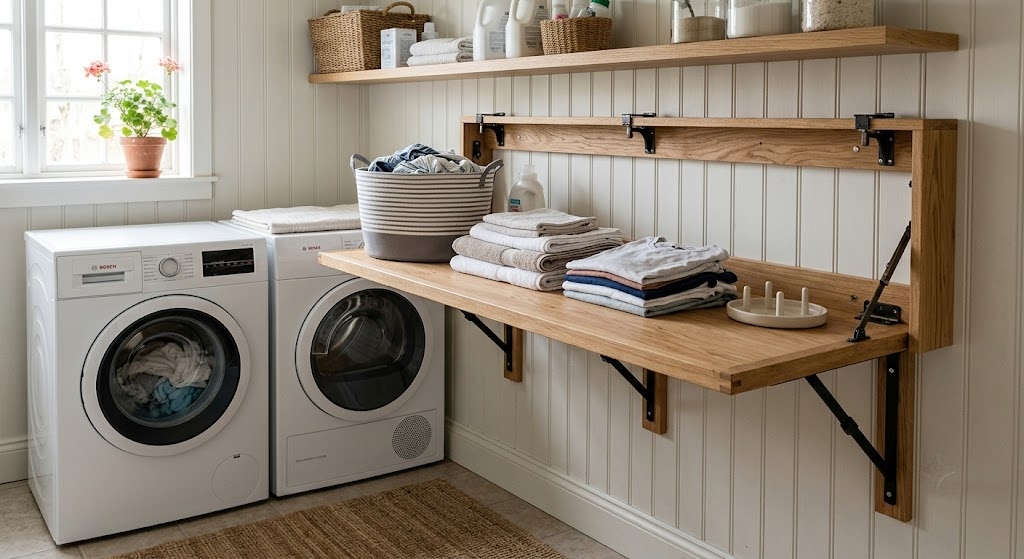
I’d size the counter to at least 24×18 inches for comfortable folding use, and confirm the wall-mounted brackets are rated to support the weight of a full folded laundry load, not just the counter’s own weight.
Budget tier: low-to-mid ($75-250.)
4. Use the Wall Space Above the Washer
The wall above a washing machine is frequently wasted space — open shelving, closed cabinets, or a combination gives you real storage capacity without any additional floor footprint.
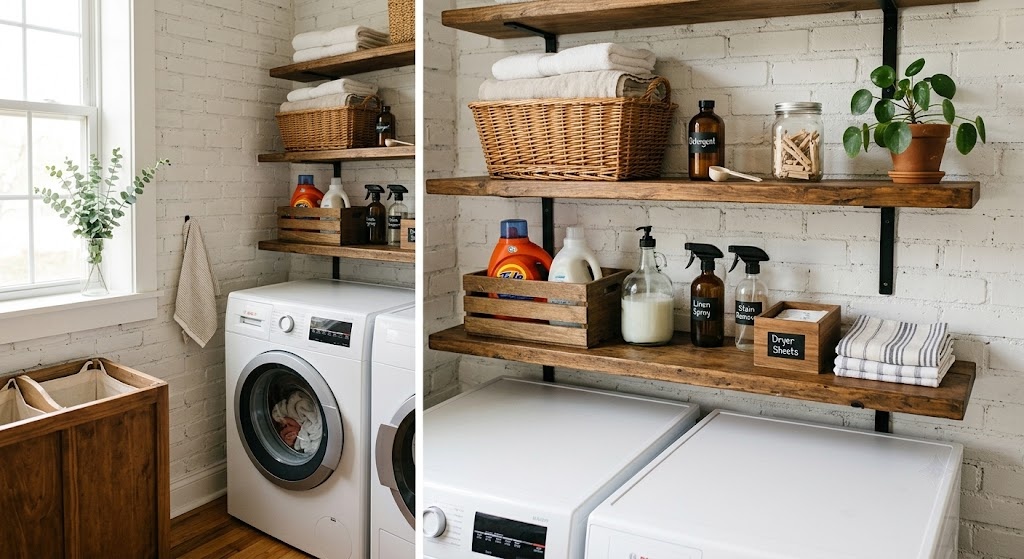
I’d reserve open shelves for frequently grabbed items and closed cabinets for anything you’d rather keep visually out of sight, particularly in a bathroom that guests also use.
Budget tier: low ($50-200.)
5. Sliding Doors to Conceal the Laundry Area
A sliding barn-style or pocket door hides the laundry zone without requiring the floor clearance a swinging door would need, letting the bathroom read as a standard bathroom until laundry day.
I’d choose a pocket door specifically if floor space is at an absolute premium, since it disappears fully into the wall rather than requiring any clearance for the door itself when open.
Budget tier: mid ($200-600 depending on door style and hardware.)
6. Dual-Purpose Vanity and Folding Counter
In a wider bathroom, positioning the washer and dryer beside the vanity with one continuous countertop creates visual continuity and gives you a folding surface that also functions as bathroom counter space.
I’d confirm the room is at least 8-9 feet wide for this layout to genuinely work, since a continuous countertop spanning both zones needs real width to avoid feeling cramped on either end.
Budget tier: mid-to-high ($500-1,500+ for a full continuous countertop and cabinetry.)
7. Pull-Out Hamper Drawers
Integrating hamper drawers into existing cabinetry, rather than leaving freestanding baskets on the floor, keeps a small bathroom looking considerably tidier, and lets you sort laundry (whites, darks, towels) as clothes come off rather than creating one large pile.
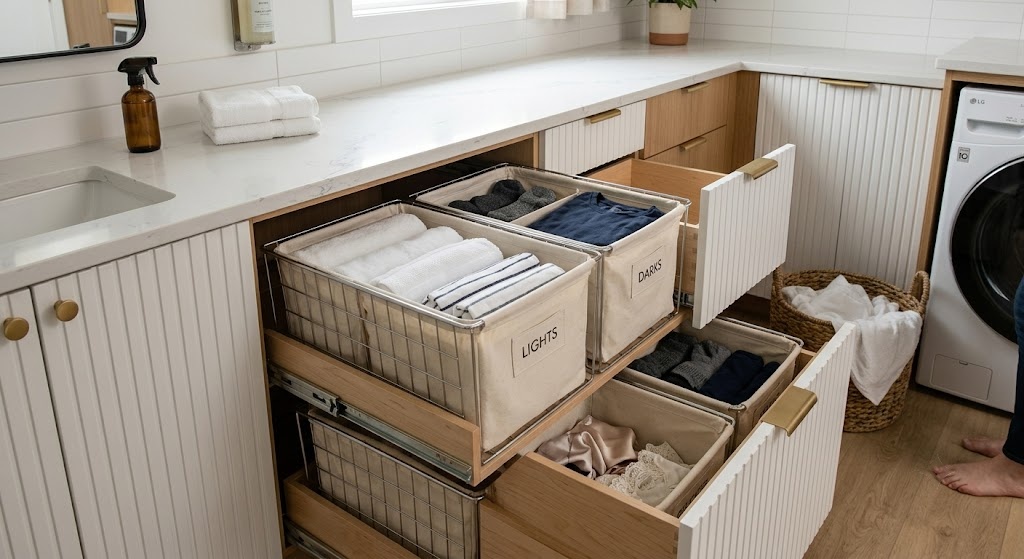
I’d choose smooth-gliding drawer hardware specifically, since a hamper drawer gets used daily and cheap hardware wears out faster under that frequency than most other cabinet components.
Budget tier: low-to-mid ($100-350 depending on the number of drawers.)
8. Compact All-in-One Washer-Dryer
A single combination unit that both washes and dries eliminates the need for two separate appliances, freeing significant wall and floor space in a genuinely tight bathroom.
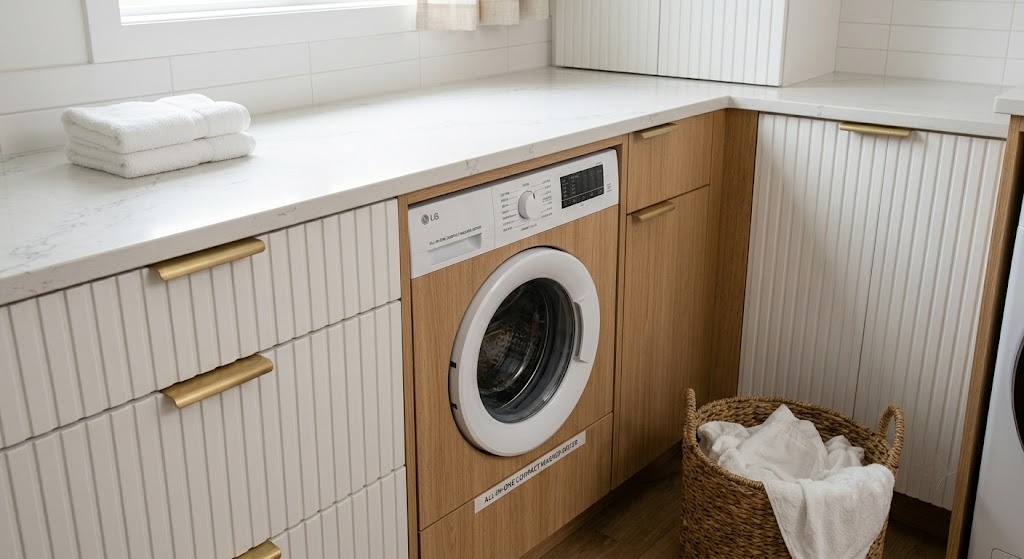
I’d check the unit’s actual capacity and typical cycle time carefully before buying, since combination units generally handle smaller loads and take longer per cycle than two separate full-sized appliances.
Budget tier: mid-to-high ($700-1,800 depending on brand and features.)
9. Ceiling-Mounted Drying Rack
A retractable rack that raises toward the ceiling when not in use provides air-drying space without permanently occupying any floor area.
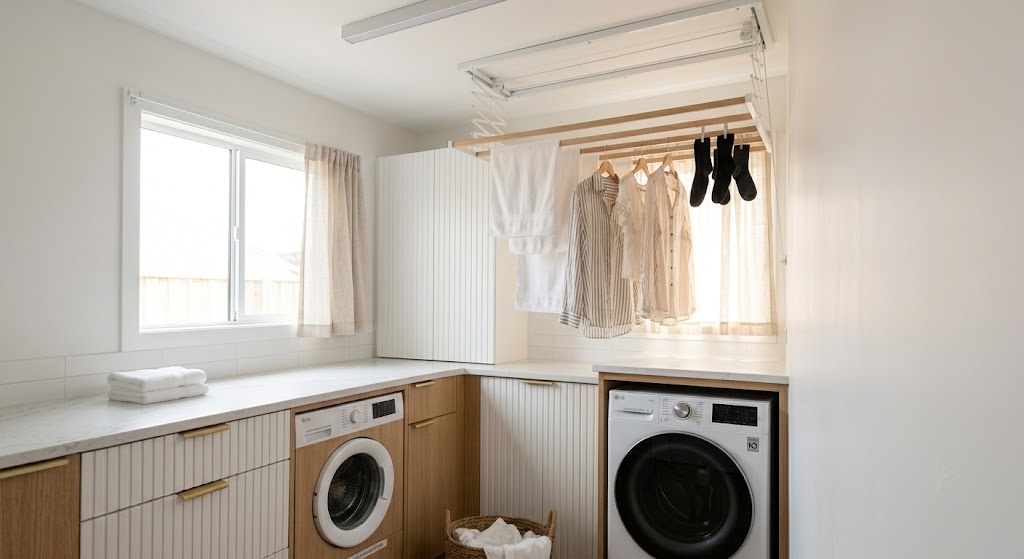
I’d confirm the bathroom has adequate ventilation before relying on this method regularly, since air-drying clothes indoors adds meaningful moisture to a room that already deals with humidity from bathing and the washer itself.
Budget tier: low-to-mid ($40-150.)
10. Concealed Utility Closet
Housing the washer, dryer, and all laundry supplies inside one dedicated closet with matching doors makes the appliances essentially disappear when not in use, well suited to minimalist bathrooms where visible machines would disrupt a clean design.
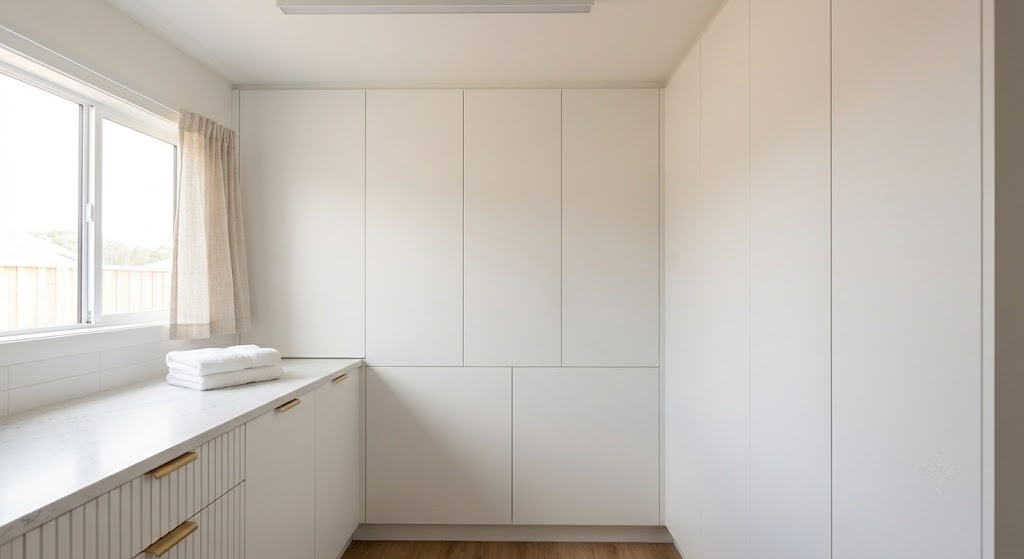
I’d leave genuine clearance inside the closet for hoses, electrical connections, and future servicing access — not just the appliances’ exterior dimensions — since a closet sized too tightly makes basic maintenance genuinely difficult.
Budget tier: mid-to-high ($400-1,200+ depending on closet construction.)
11. Under-Sink Laundry Storage
The cabinet beneath a bathroom sink can hold laundry supplies in addition to bathroom products, using pull-out baskets or dividers to keep the space organized rather than allowing genuine bathroom items to compete with laundry supplies for room.
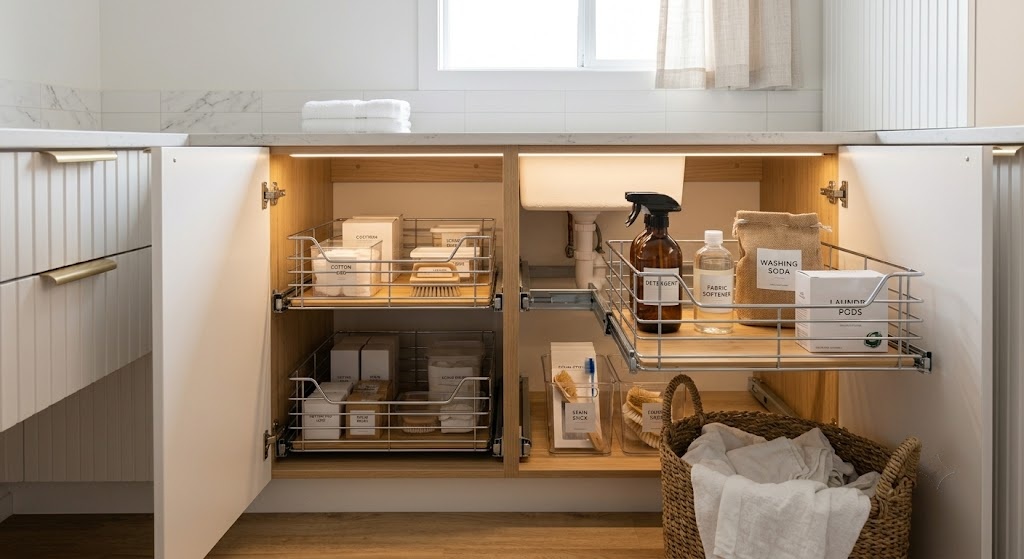
I’d use labeled, secure containers here specifically, since an under-sink cabinet already deals with plumbing pipes taking up interior space, and loose products tend to shift and become disorganized fast in this kind of irregular cabinet interior.
Budget tier: low ($20-60 for organizing inserts.)
12. Narrow Vertical Storage Tower
A tall, narrow cabinet fit into unused wall space — between the washer and vanity, or beside a doorway — adds real storage capacity without requiring much width at all.
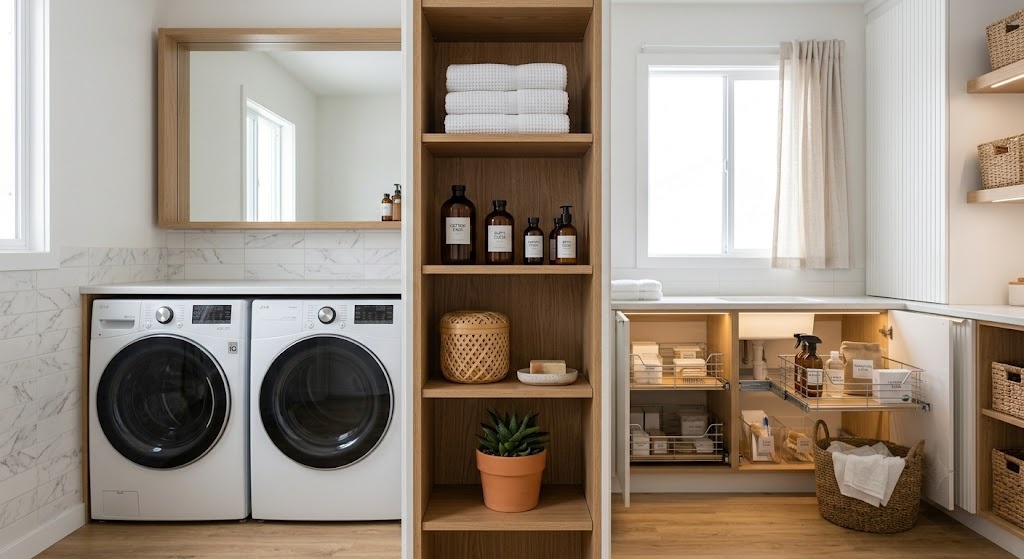
I’d reserve lower shelves in a vertical tower for frequently used items and upper shelves for backup supplies, and consider this specifically as a way to visually balance a stacked washer-dryer unit’s height on one side of the room.
Budget tier: low-to-mid ($75-250.)
13. Built-In Laundry Folding Bench
A bench specifically for folding clean laundry — with drawers or cabinets underneath for even more storage — gives the room a dedicated folding zone rather than using the vanity or floor.
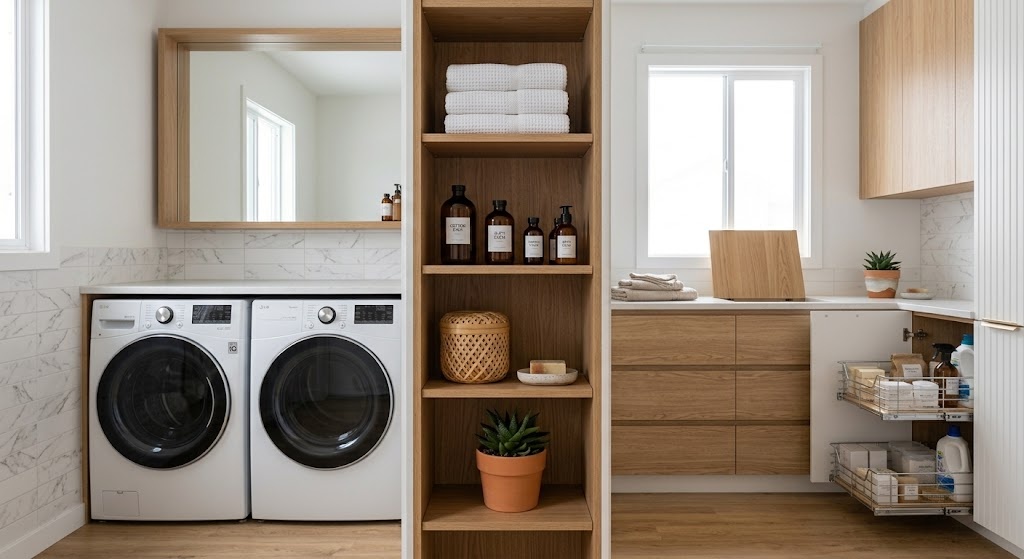
I’d choose a wall-mounted bench design specifically for a smaller bathroom, since it leaves the floor area underneath open rather than adding a bulky freestanding piece of furniture.
Budget tier: mid ($150-450.)
14. Frosted Glass Partition
A glass divider — frosted or textured for privacy — visually separates the laundry zone from the rest of the bathroom without making the room feel closed off, particularly useful when the washer and dryer sit close to a shower or toilet.
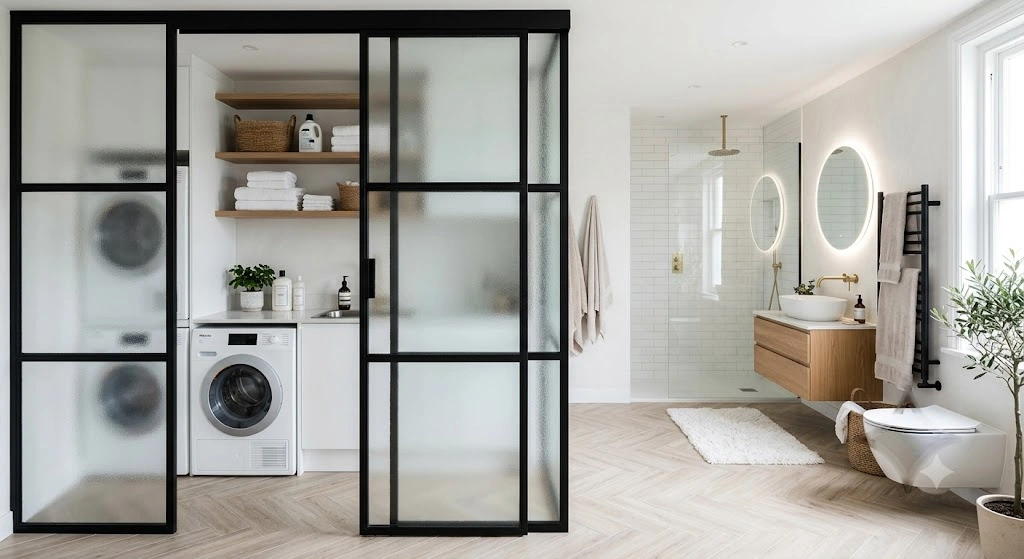
I’d pair frosted glass with black or brushed metal framing for a more contemporary look, or choose frameless glass specifically for a lighter, more open appearance in a genuinely small space.
Budget tier: mid-to-high ($300-900 depending on glass size and framing.)
Best Ideas for Genuinely Small Bathrooms
If your bathroom is particularly tight, these solve more than one problem simultaneously and are worth prioritizing first:
- Stacked washer and dryer — uses vertical space instead of additional floor footprint
- Built-in laundry cabinet — hides appliances while adding storage
- Pull-out hamper drawers — removes bulky baskets from the floor entirely
- Fold-down counter — provides folding space only when actually needed
- Compact all-in-one washer-dryer — reduces the footprint when two full appliances aren’t practical
How to Make the Room Feel Bigger
Keep a consistent color palette: Coordinating wall, cabinet, and fixture colors creates a more unified look, and light neutrals help a compact room feel brighter overall.
Take storage vertical: Tall cabinets and wall shelves add real capacity without reducing the room’s walking area.
Keep countertops clear: A clean surface immediately makes a small room read as more organized, so use drawers and labeled containers rather than leaving products out.
Hide appliances where possible: Cabinet doors, sliding doors, or a dedicated utility closet visually reduce the impact of large appliances, especially relevant if the bathroom is also used by guests.
My Professional Guide to Planning a Bathroom Laundry Combo
I always start with the practical infrastructure — ventilation, water connections, drainage, and electrical requirements — before any layout or design decision, since these constraints determine what’s actually possible in your specific bathroom far more than style preferences do.
From there, I measure precisely: stacked units need roughly 24-27 inches of width plus rear clearance, side-by-side setups need at least 60 inches, and every layout needs genuine clearance for appliance doors, servicing access, and daily movement around fixtures.
Finally, I’d address concealment and storage as the last design layer, once the functional layout is settled — cabinetry, sliding doors, and vertical storage all work best when built around a floor plan that already accounts for plumbing and ventilation, rather than driving those decisions.
Conclusion
A bathroom laundry combo can be both genuinely functional and visually cohesive, but the successful ones are planned in the right order: infrastructure and clearance first, storage and concealment second, decorative finishes last. Measure your specific space against the core requirements above, choose the layout that solves your particular constraints, and even a compact bathroom can accommodate laundry without feeling cramped or chaotic.
Frequently Asked Questions
How much space do I need for a stacked washer and dryer in a bathroom?
Roughly 24-27 inches of width, plus 3-4 inches of clearance behind the unit for hose and vent connections — confirm your specific washer model is rated for stacking before purchasing a stacking kit.
Do I need special ventilation for a bathroom laundry combo?
Yes — a dryer needs dedicated exterior venting separate from the bathroom’s existing exhaust fan, since bathrooms already handle significant moisture and a dryer adds substantially more.
What’s the best laundry solution for a very small bathroom?
Stacked appliances, a compact all-in-one washer-dryer, pull-out hamper drawers, and a fold-down counter are generally the most space-efficient options, since each solves multiple problems (footprint, storage, function) simultaneously.
Can I install a bathroom laundry combo myself?
Basic elements like shelving, cabinetry, or a folding counter are reasonable DIY projects, but plumbing, electrical, and structural changes should go through a licensed professional and follow local building codes.