
14 Easy Craft Activities for Kids Using Simple Materials
The easiest craft activities for kids use materials most households already have — paper plates, cardboard, yarn, and paint. Paper plate masks, salt dough ornaments, and painted rock bugs are the three lowest-cost, lowest-mess options that work well for kids ages 3 and up. Choosing activities with a clear finished result, rather than open-ended free painting, tends to hold younger kids’ attention longest
I’ve put together a lot of craft afternoons, and the projects that actually keep kids engaged aren’t the elaborate Pinterest builds — they’re the simple ones with an obvious “reward” at the end, like something they can wear, hang up, or give away. Below are 14 easy craft activities for kids, each with materials, exact steps, a helpful tip, and a ready-to-use image prompt so you can picture the finished project before you start.
At-a-Glance Comparison Table
| Idea | Best Age Range | Mess Level | Approx. Budget |
|---|---|---|---|
| Paper Plate Animal Masks | 3–8 | Low | $ |
| DIY Salt Dough Ornaments | 4–10 | Medium | $ |
| Popsicle Stick Photo Frames | 5–10 | Low | $ |
| Handprint Art Keepsakes | 2–7 | Medium | $ |
| Painted Rock Bugs | 4–10 | Medium | $ |
| Toilet Paper Roll Binoculars | 3–8 | Low | $ |
| Yarn-Wrapped Suncatchers | 6–12 | Low | $ |
| Paper Bag Puppets | 3–9 | Low | $ |
| Cardboard Box Playhouse | 3–10 | Medium | $ |
| Nature Collage Art | 4–10 | Low | $ |
| Bubble Wrap Printing | 3–8 | High | $ |
| DIY Friendship Bracelets | 6–12 | Low | $ |
| Sponge-Painted Butterfly Garden | 4–9 | Medium | $ |
| Recycled Bottle Cap Magnets | 5–11 | Low | $ |
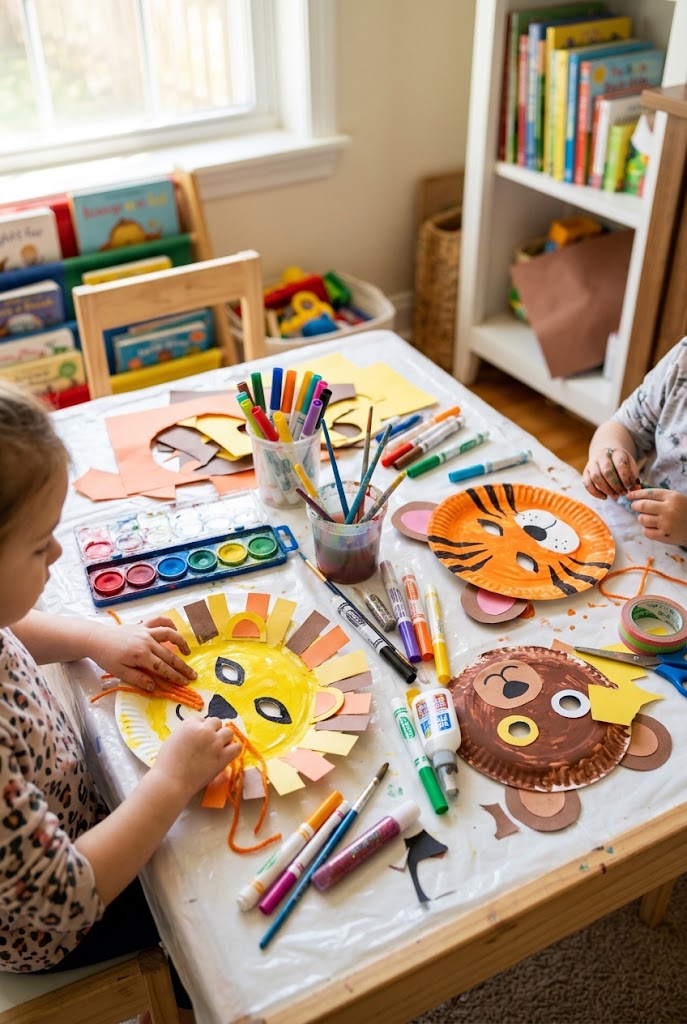
1. Paper Plate Animal Masks
Paper plates are the fastest base for a craft with an immediate payoff — kids get to wear the result right away, which keeps younger kids especially engaged through the whole project.
What You’ll Need: paper plates, craft paint or markers, scissors, glue, craft sticks or elastic string, construction paper for ears/features.
Quick How-To: Cut eye holes in the center of each plate. Let kids paint or color the plate as their chosen animal, then glue on construction-paper ears, a nose, or whiskers. Attach a craft stick handle or elastic string to wear it.
Styling Tip: Pre-cut the eye holes yourself for younger kids so they can go straight to the fun decorating part.
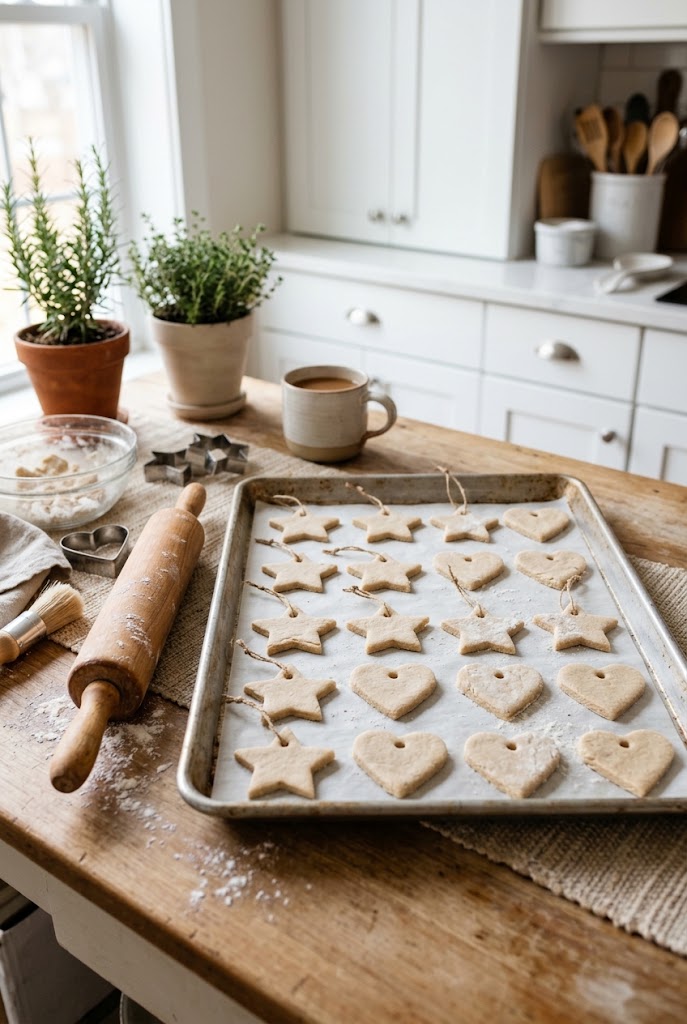
2. DIY Salt Dough Ornaments
Salt dough is a pantry-staple craft material that air-dries or bakes into a lasting keepsake — great for handprints, cookie-cutter shapes, or freeform sculpting.
What You’ll Need: 2 cups flour, 1 cup salt, 1 cup water, rolling pin, cookie cutters, ribbon, paint (optional).
Quick How-To: Mix flour, salt, and water into a firm dough. Roll to about ¼-inch thickness and cut shapes with cookie cutters. Poke a small hole for ribbon before baking at a low oven temperature (or air-drying for 24–48 hours). Paint once fully dry.
Styling Tip: Poke the ribbon hole before baking — it’s much harder to add cleanly afterward.
3. Popsicle Stick Photo Frames
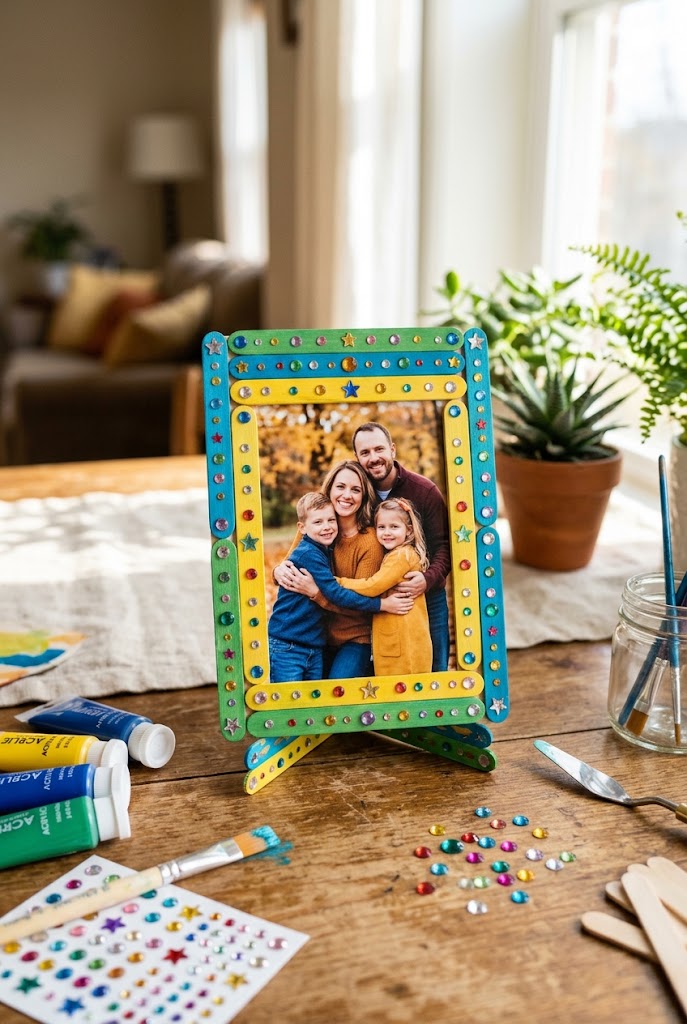
A simple grid of glued popsicle sticks turns into a personalized picture frame kids can decorate and gift — one of the easiest “useful” crafts on this list.
What You’ll Need: popsicle sticks, craft glue, paint or markers, small decorations (stickers, gems), a photo.
Quick How-To: Glue four popsicle sticks into a square frame shape and let dry. Decorate the front with paint, markers, or small gems. Glue or tape a photo to the back of the opening.
Styling Tip: Let the glued frame dry fully (about an hour) before decorating so the sticks don’t shift.
4. Handprint Art Keepsakes
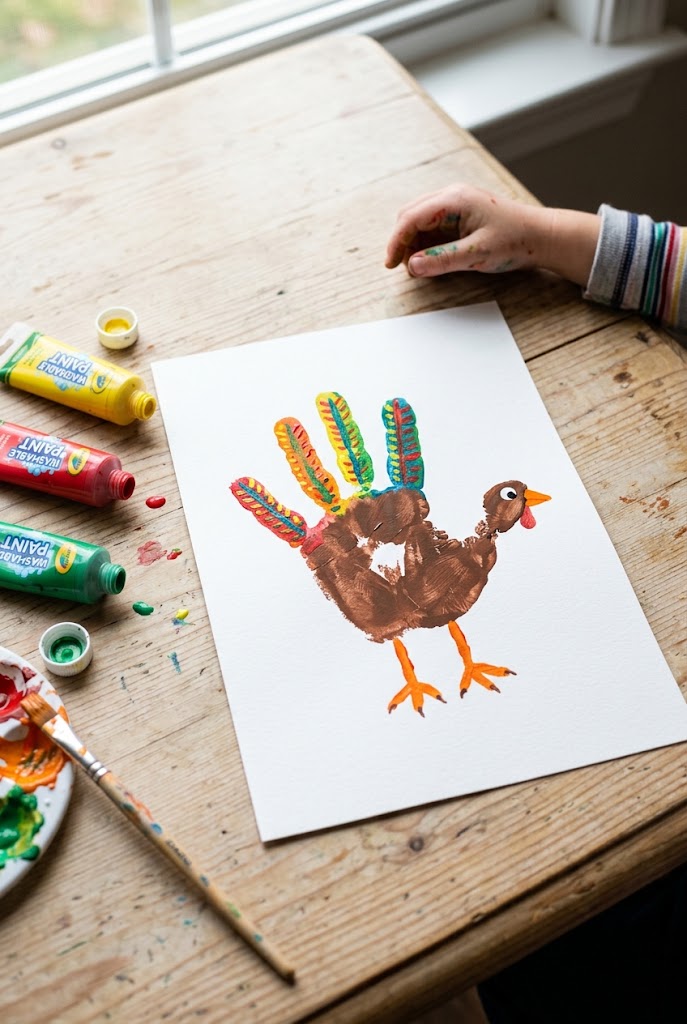
Handprint crafts turn a simple paint session into a keepsake parents actually want to save — animals, seasonal shapes, or family trees all work from the same basic technique.
What You’ll Need: washable paint, paper or canvas, paintbrush, wet wipes for cleanup, fine-tip marker for details.
Quick How-To: Paint your child’s palm and fingers, then press firmly onto paper or canvas. Once dry, add details with a fine-tip marker to turn the print into an animal, flower, or seasonal design.
Styling Tip: Press the hand down and lift straight up without sliding — smudging is the most common issue with handprint crafts.
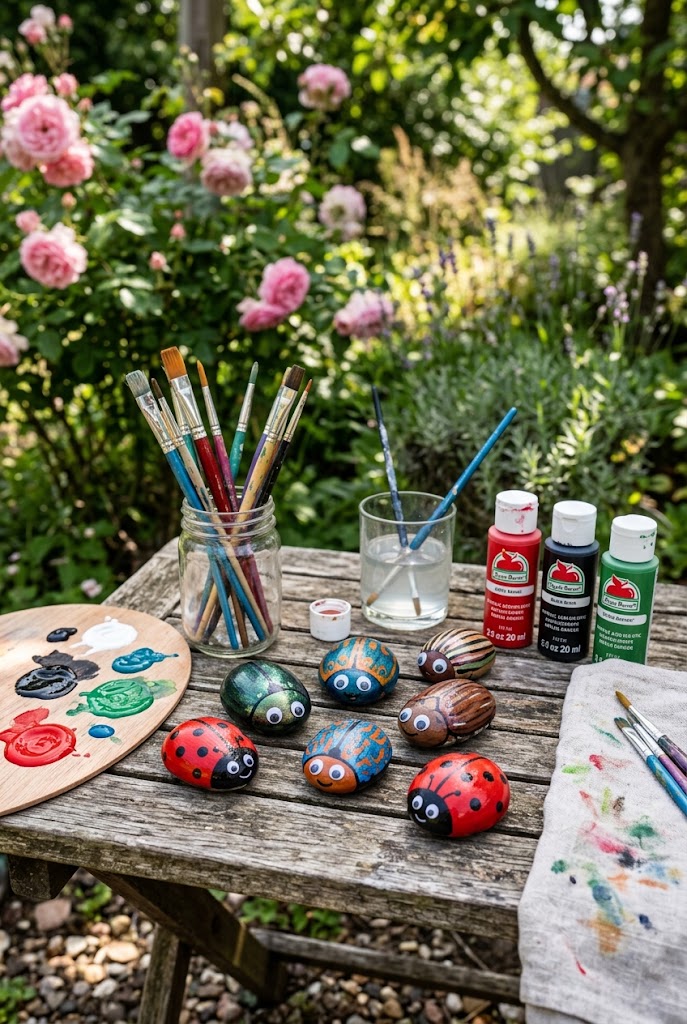
5. Painted Rock Bugs
Smooth rocks from the yard or a craft store become tiny painted bugs, ladybugs, or creatures — a low-cost outdoor-to-indoor craft that doubles as a nature walk beforehand.
What You’ll Need: smooth flat rocks, acrylic paint, fine paintbrushes, googly eyes, clear sealant spray (optional).
Quick How-To: Wash and dry rocks first. Paint a base color, let dry, then add spots, stripes, or patterns. Glue on googly eyes once fully dry. Seal with clear spray if the rocks will live outdoors.
Styling Tip: Let kids collect their own rocks first — the hunt is half the fun and gives them ownership over the project.
6. Toilet Paper Roll Binoculars
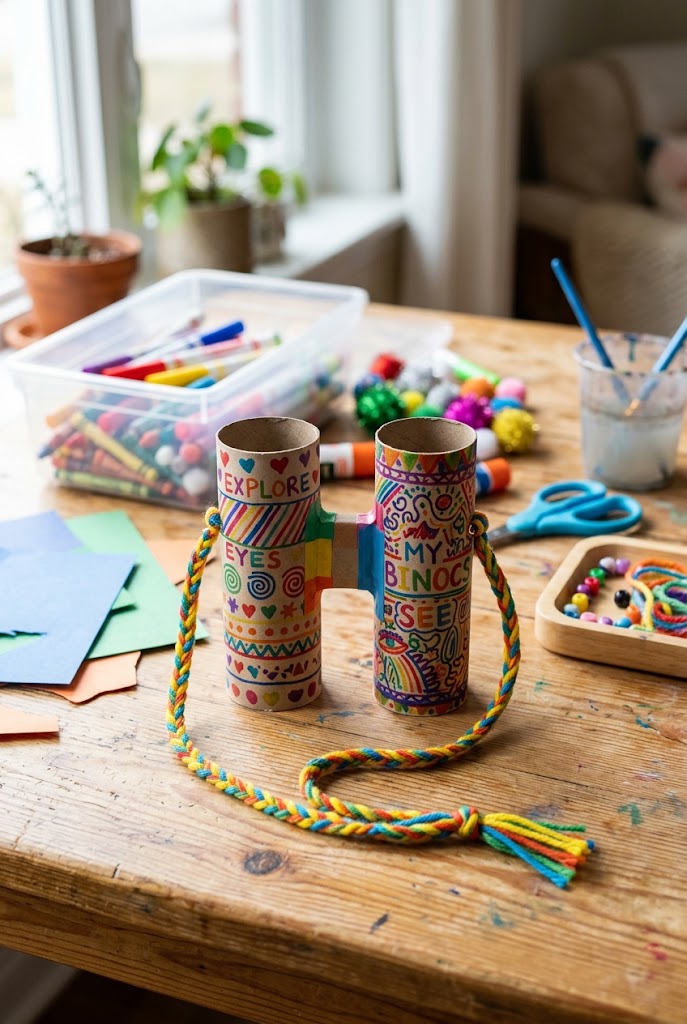
Two empty toilet paper rolls glued together become a pair of kid-sized binoculars, perfect for a backyard “expedition” right after the craft is done.
What You’ll Need: two toilet paper rolls, glue or tape, string or yarn, markers, stickers.
Quick How-To: Glue or tape the two rolls together side by side. Decorate with markers and stickers. Punch a hole on each outer side and attach a length of yarn as a neck strap.
Styling Tip: Reinforce the glued seam with tape before decorating — plain glue alone can come apart during active play.
7. Yarn-Wrapped Suncatchers
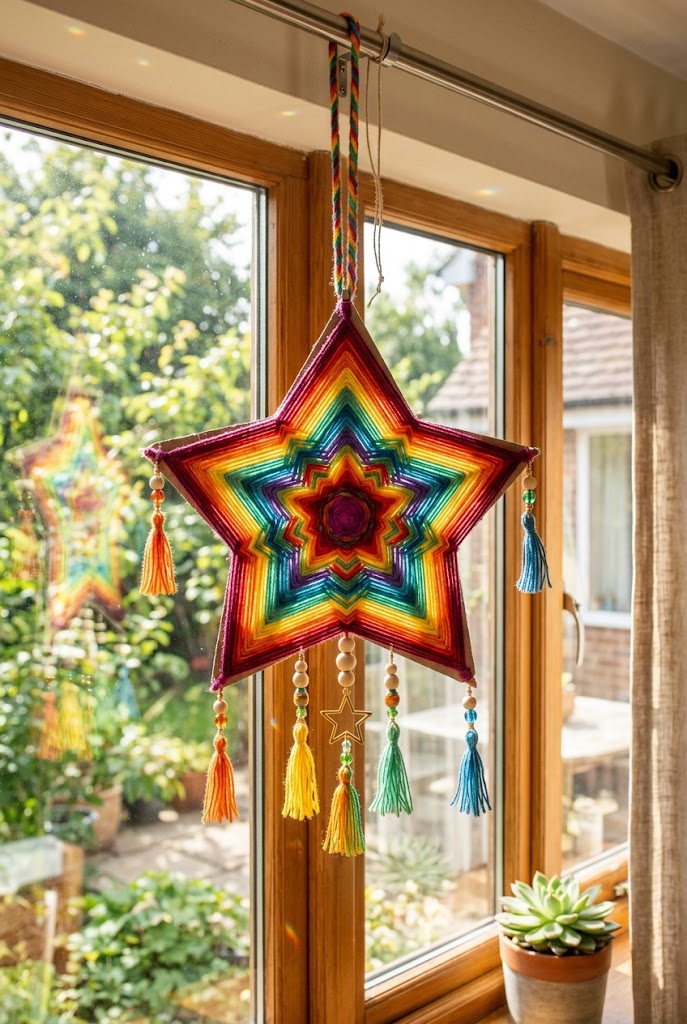
Wrapping colorful yarn around a simple cardboard or stick shape creates a suncatcher that looks far more polished than the effort required — a good project for slightly older kids working on fine motor skills.
What You’ll Need: cardboard cut into a simple shape (or two sticks tied into a cross), yarn in various colors, scissors, string for hanging.
Quick How-To: Cut a shape from cardboard or form a simple cross from two sticks. Wrap yarn around the frame repeatedly, changing colors every few wraps. Tie off and attach a string for hanging.
Styling Tip: Start the wrap for younger kids so they can take over once the yarn is secured to the frame.
8. Paper Bag Puppets
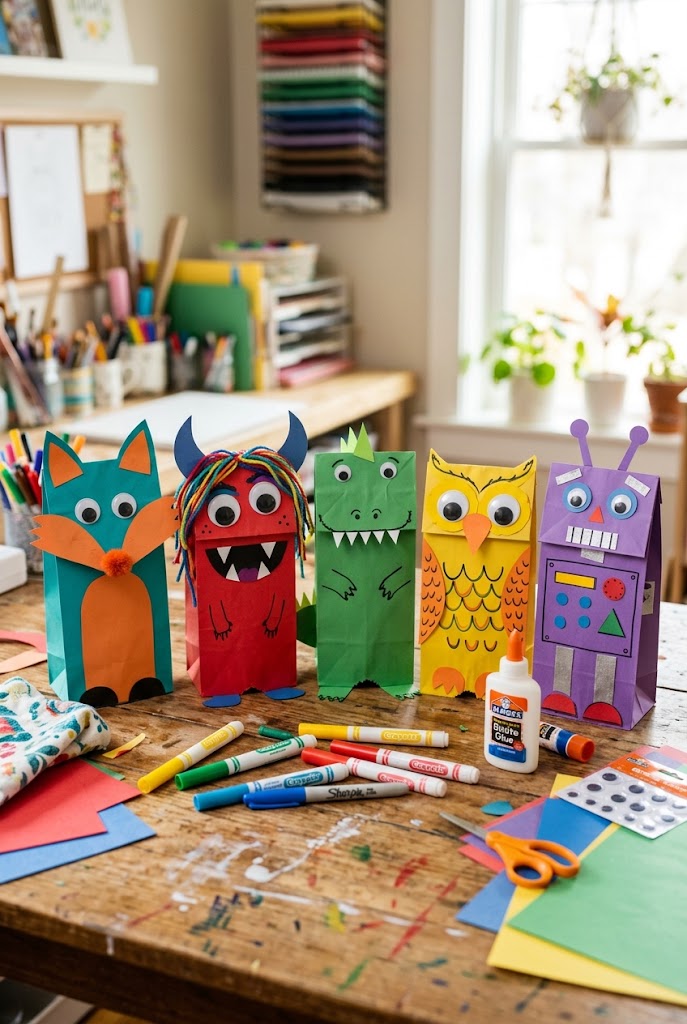
A folded paper bag becomes an instant puppet with a movable mouth — one of the simplest crafts on this list, and a great lead-in to imaginative play or a mini puppet show afterward.
What You’ll Need: small paper lunch bags, construction paper, glue, markers, googly eyes.
Quick How-To: Use the bag’s folded bottom flap as the puppet’s mouth. Glue on construction-paper features (eyes, ears, a tongue) above and below the fold. Decorate the body with markers.
Styling Tip: Draw or glue the mouth details right at the fold line so the puppet’s mouth actually “opens” when little hands move it.
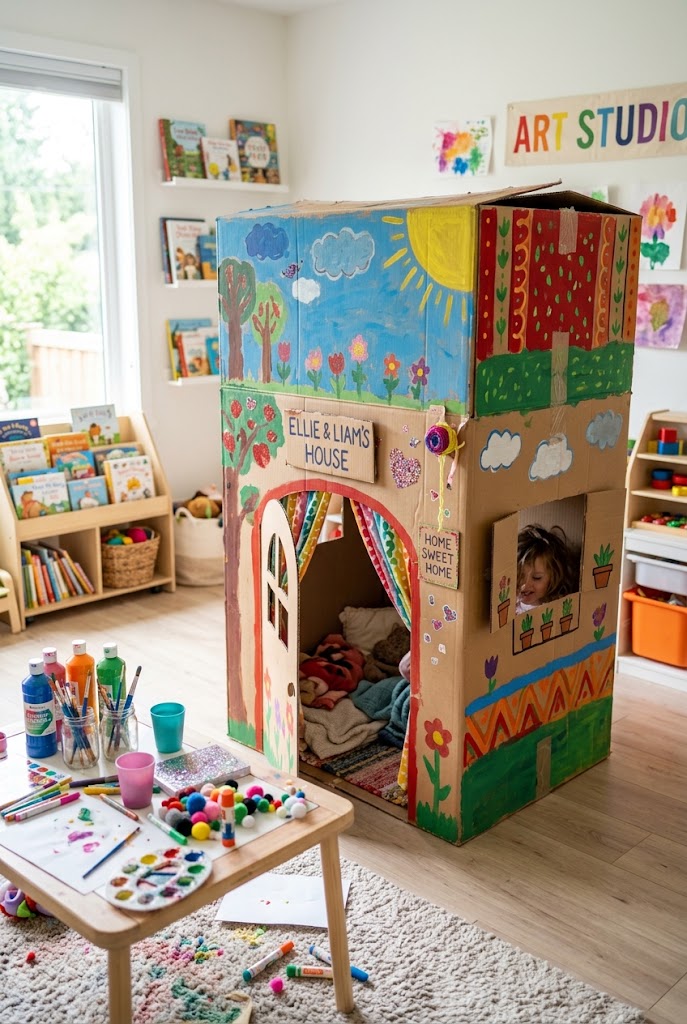
9. Cardboard Box Playhouse
A large appliance or moving box turns into a simple playhouse with just a few cuts and some paint — one of the best-value crafts on this list because the “activity” lasts well beyond the craft time itself.
What You’ll Need: one large cardboard box, box cutter (adult use only), paint or markers, tape.
Quick How-To: Cut a door and one or two windows into the box (adult step). Let kids paint and decorate the exterior and interior. Reinforce cut edges with tape for durability.
Styling Tip: Cut window shapes with rounded corners rather than sharp ones — it looks friendlier and is safer for little hands.
10. Nature Collage Art
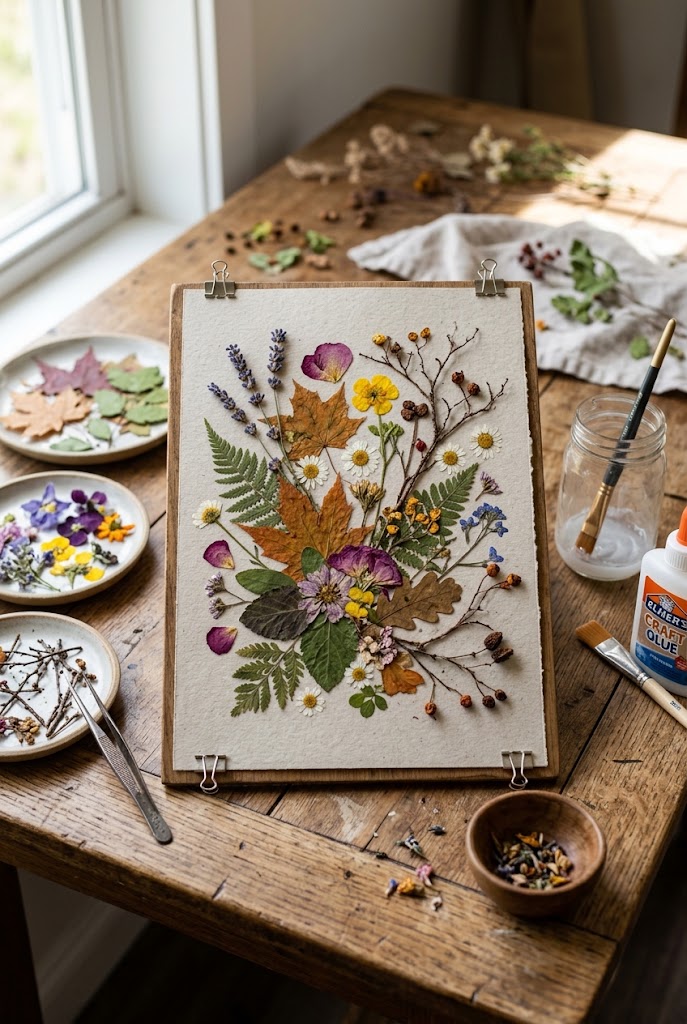
A short walk to collect leaves, flowers, and small twigs turns into a collage that’s different every time — a great low-cost, screen-free activity that also gets kids outside first.
What You’ll Need: collected leaves, flowers, and twigs, glue, cardstock or heavy paper.
Quick How-To: Go on a short collection walk together. Arrange the collected pieces on paper before gluing to plan the design, then glue each piece down and let dry flat.
Styling Tip: Press flatter items (like leaves) under a heavy book for a day beforehand so they glue down more smoothly.
11. Bubble Wrap Printing
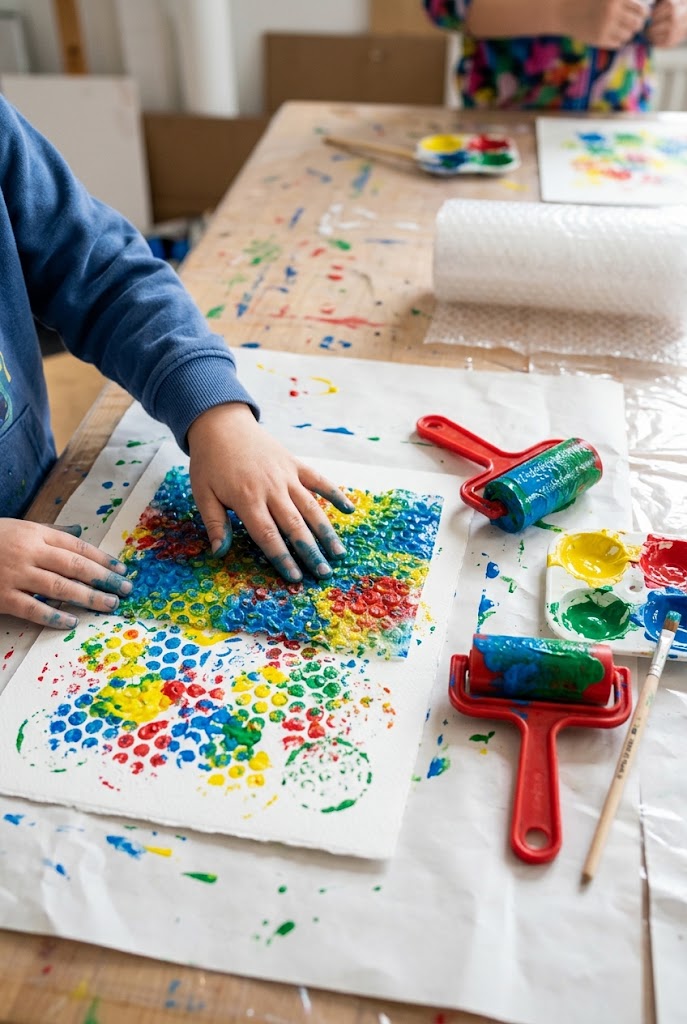
Painting the surface of bubble wrap and pressing it onto paper creates a textured print pattern kids find genuinely surprising — this is a higher-mess activity best done on a covered table or outdoors.
What You’ll Need: bubble wrap, washable paint, paper, paintbrush or roller, painter’s tape (to secure the paper).
Quick How-To: Tape paper down to prevent sliding. Paint a layer of color directly onto the bubble side of the wrap, then press it firmly onto the paper and lift straight up to reveal the print.
Styling Tip: Use a different paint color for each press to build a layered, multicolor pattern rather than one flat color.
12. DIY Friendship Bracelets
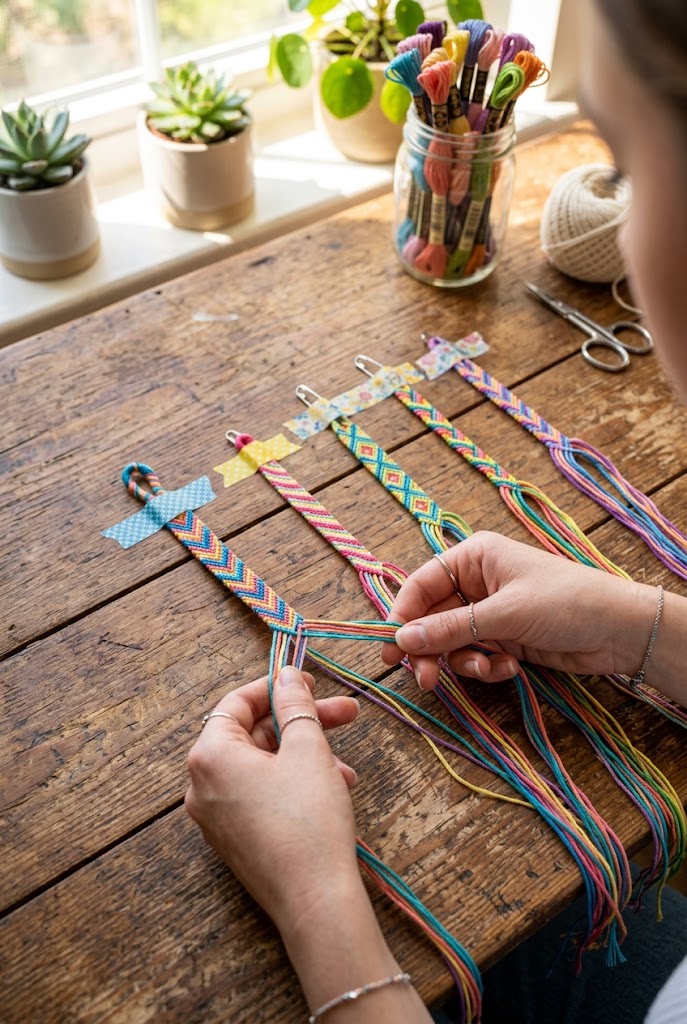
Simple braided or knotted embroidery-thread bracelets are a classic low-mess craft that works well for slightly older kids and doubles as a gift-making activity for friends or classmates.
What You’ll Need: embroidery thread in several colors, tape or a clipboard to anchor the strands, scissors.
Quick How-To: Cut three to four strands of thread, tie a knot at the top, and secure to a table with tape. Braid or knot the strands in a simple pattern to the desired length, then tie off.
Styling Tip: Start with a basic three-strand braid for younger or first-time crafters before moving to more complex knot patterns.
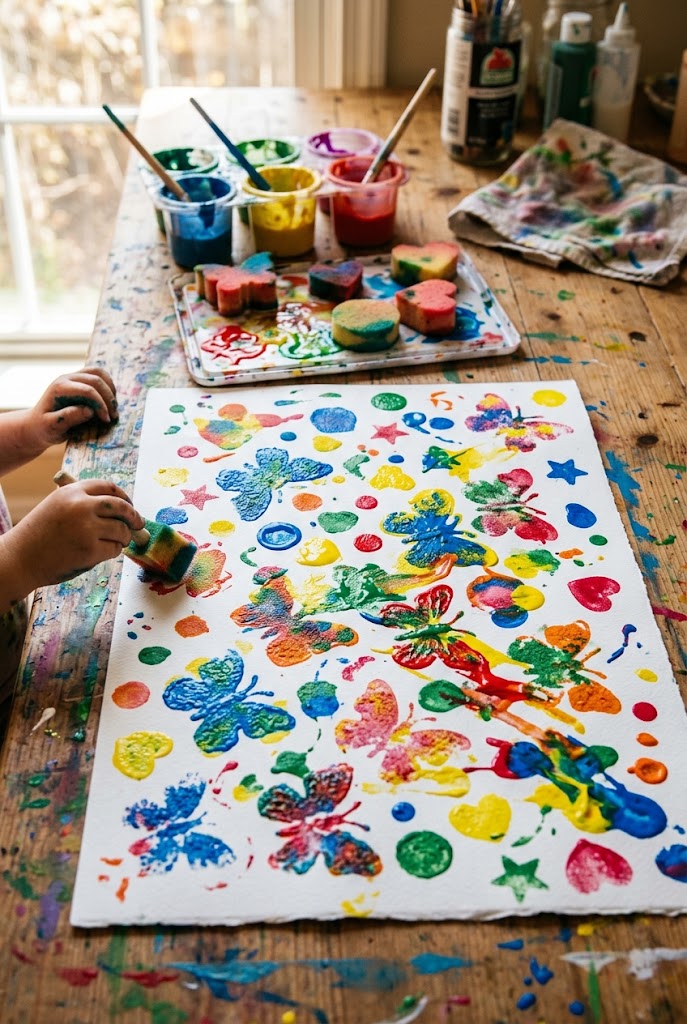
13. Sponge-Painted Butterfly Garden
Cutting a sponge into a butterfly-wing shape and stamping it repeatedly creates a whole “garden” of butterflies on one page — a simple technique with a visually impressive result for younger kids.
What You’ll Need: sponge cut into a wing or half-heart shape, washable paint, paper, clothespins (as stamp handles, optional), markers for antennae/details.
Quick How-To: Dip the sponge shape into paint and press onto paper twice, meeting at the center to form a butterfly’s two wings. Repeat in different colors across the page. Add antennae and a body with markers once dry.
Styling Tip: Attach a clothespin to the back of the sponge as a handle — it keeps small hands cleaner and gives more stamping control.
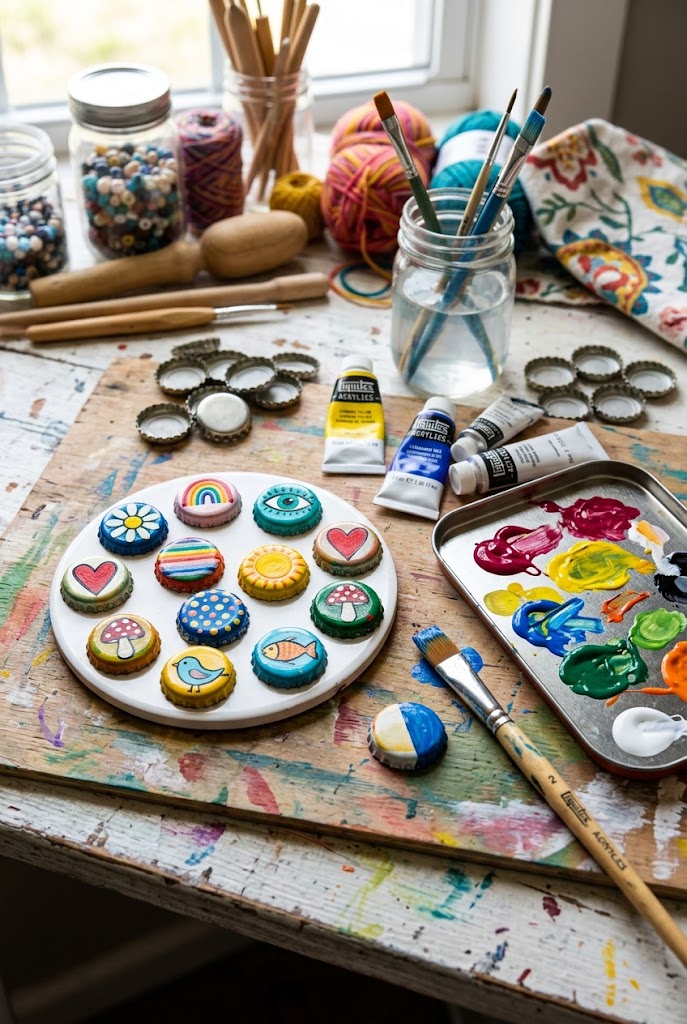
14. Recycled Bottle Cap Magnets
Saved bottle caps become tiny painted magnets — a good project for using up small collected materials and a fun way to make personalized gifts or fridge decorations.
What You’ll Need: clean bottle caps, acrylic paint, small paintbrush, small adhesive magnets, clear sealant (optional).
Quick How-To: Wash and dry bottle caps thoroughly. Paint a simple design or pattern inside each cap and let dry. Attach a small adhesive magnet to the back of each.
Styling Tip: Seal the painted design with a clear coat if the magnets will get handled often — it keeps the paint from chipping.
My Professional Guide
Choosing Crafts by Age
- Ages 2–4: Handprint art, paper plate masks, sponge painting — activities with minimal small parts and simple motor skills
- Ages 5–8: Popsicle stick frames, salt dough, paper bag puppets, painted rocks — more steps, still forgiving of imperfect execution
- Ages 9–12: Friendship bracelets, yarn suncatchers, bottle cap magnets — finer motor skills and multi-step patience
Managing Mess Level
Cover the work surface with a plastic tablecloth or old sheet for anything involving paint or glue, and keep a damp cloth within reach rather than sending kids to wash hands mid-project — it keeps momentum going.
Prepping Ahead
Pre-cut anything requiring scissors or a box cutter before the activity starts, especially for younger kids. This is the single biggest time-saver for keeping a craft session from stalling out.
Storage & Reuse
Keep a labeled bin of reusable craft basics — googly eyes, pom-poms, yarn scraps, bottle caps — so a new activity can come together in minutes without a supply run.
Conclusion
The best craft activities for kids aren’t the most elaborate ones — they’re the ones with a clear, satisfying result and materials you likely already have at home. Start with a low-mess option that matches your child’s age and attention span, then build toward messier or more detailed projects as they gain confidence. A little prep beforehand goes a long way toward keeping the whole activity fun instead of frustrating.
FAQ
What are the easiest craft activities for young kids?
Handprint art, paper plate masks, and sponge painting are the easiest for ages 2–5, since they involve minimal small parts and forgiving techniques.
What household items work well for kids’ crafts?
Toilet paper rolls, paper bags, bottle caps, cardboard boxes, and yarn scraps are all common household items that work well for simple, low-cost crafts.
How do I keep craft activities from becoming too messy?
Cover the work surface, choose washable paint, and keep a damp cloth nearby. Activities like friendship bracelets and popsicle stick frames are naturally lower-mess if you want to avoid paint altogether.
What crafts are good for a rainy day with multiple kids?
Paper bag puppets, painted rocks, and nature collages work well for groups since they scale easily and don’t require close adult supervision at every step.
How can I make craft activities last longer for older kids?
Choose multi-step projects like friendship bracelets, yarn suncatchers, or a cardboard playhouse, which involve more planning and finer motor skills than single-step crafts.
Do I need special supplies for kids’ crafts?
Most of the ideas on this list use materials already found at home — cardboard, paper bags, bottle caps, and basic paint — making them accessible without a dedicated craft supply run.